While juggling careers, six kids, and all of our projects, sometimes my own home falls behind! Any other mamas feel behind out there? We have the capability to make our own house extremely nice, but we pour so much of our time in other areas. Well….it is time for a mini bathroom make over!
Well the time has come! I wanted to update both of my kids bedrooms as well as their full bath. We have lived in our home a little over six years and have not touched these rooms since we moved here.
The Back Story…
Our house was actually a foreclosure and we purchased it when the market was low in 2011. We took a hit selling our other house, but at the same time got a great deal on our current one. Six years ago, we had minimal renovation experience and heck, I wasn’t half the painter I am today.
We have learned SO much when it comes to house renovations that now our flip houses end up looking nicer than my own! Now don’t get me wrong, I have a really nice house, but there are a lot of things I would love to change.
First things first….time for a mini bathroom makeover for the kids!
Before the Before
Oh how I wish I had a picture of what this bathroom looked like before we redid it six years ago. There was a missing cabinet in the corner making the mirror off center and the blue seahorse ceramic tiles lop sided. I don’t honestly recall the paint color, but we did paint it.
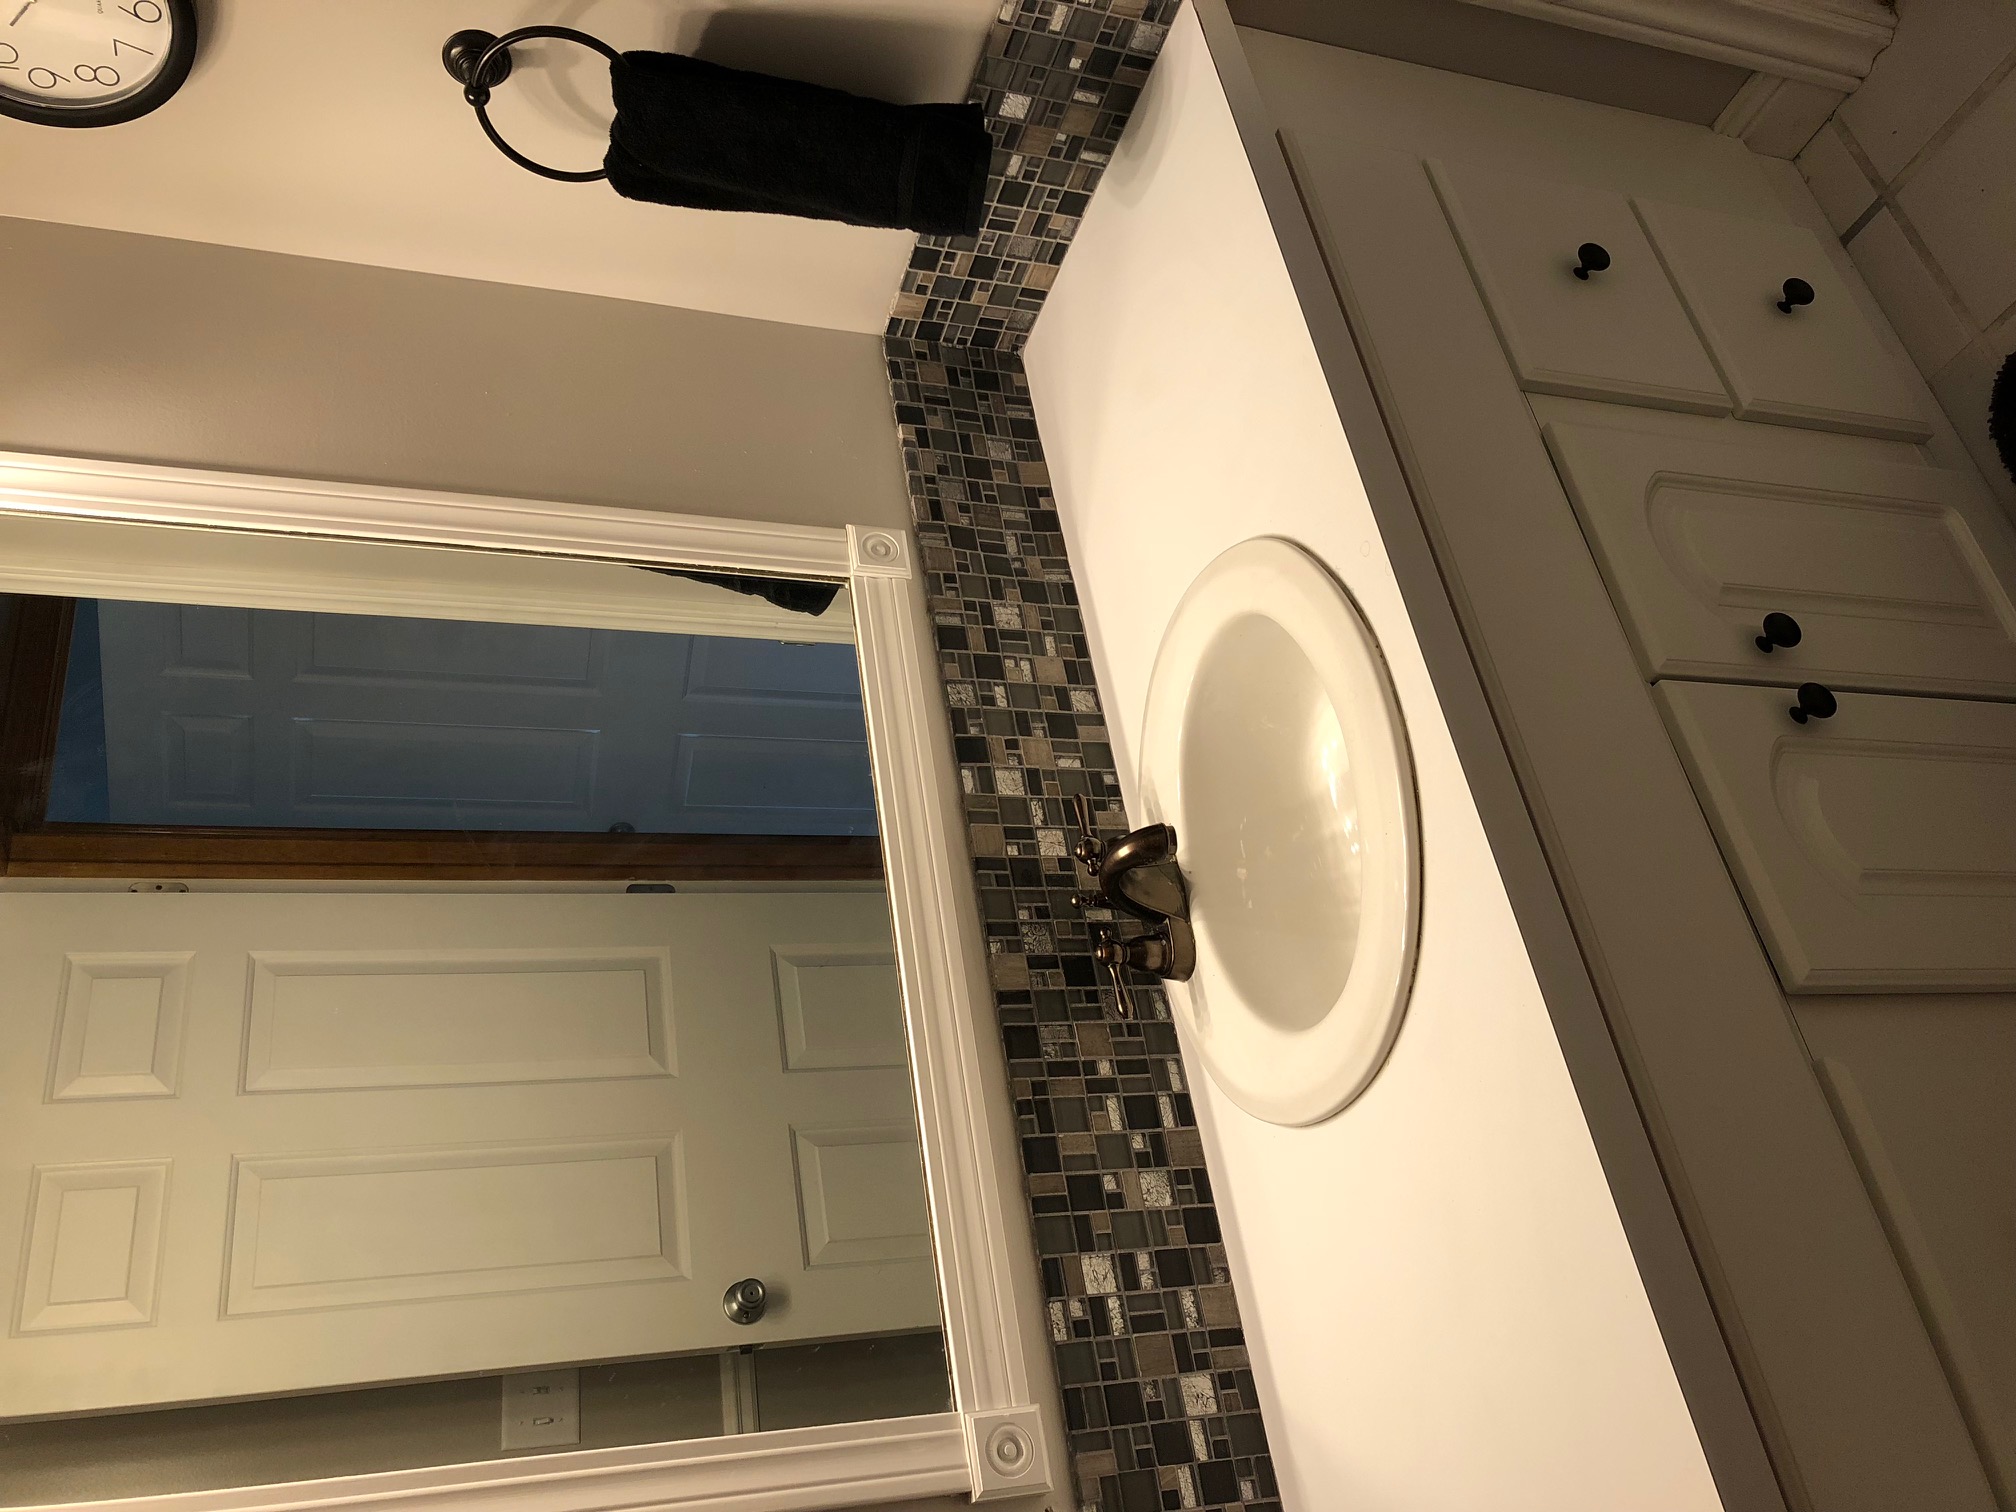
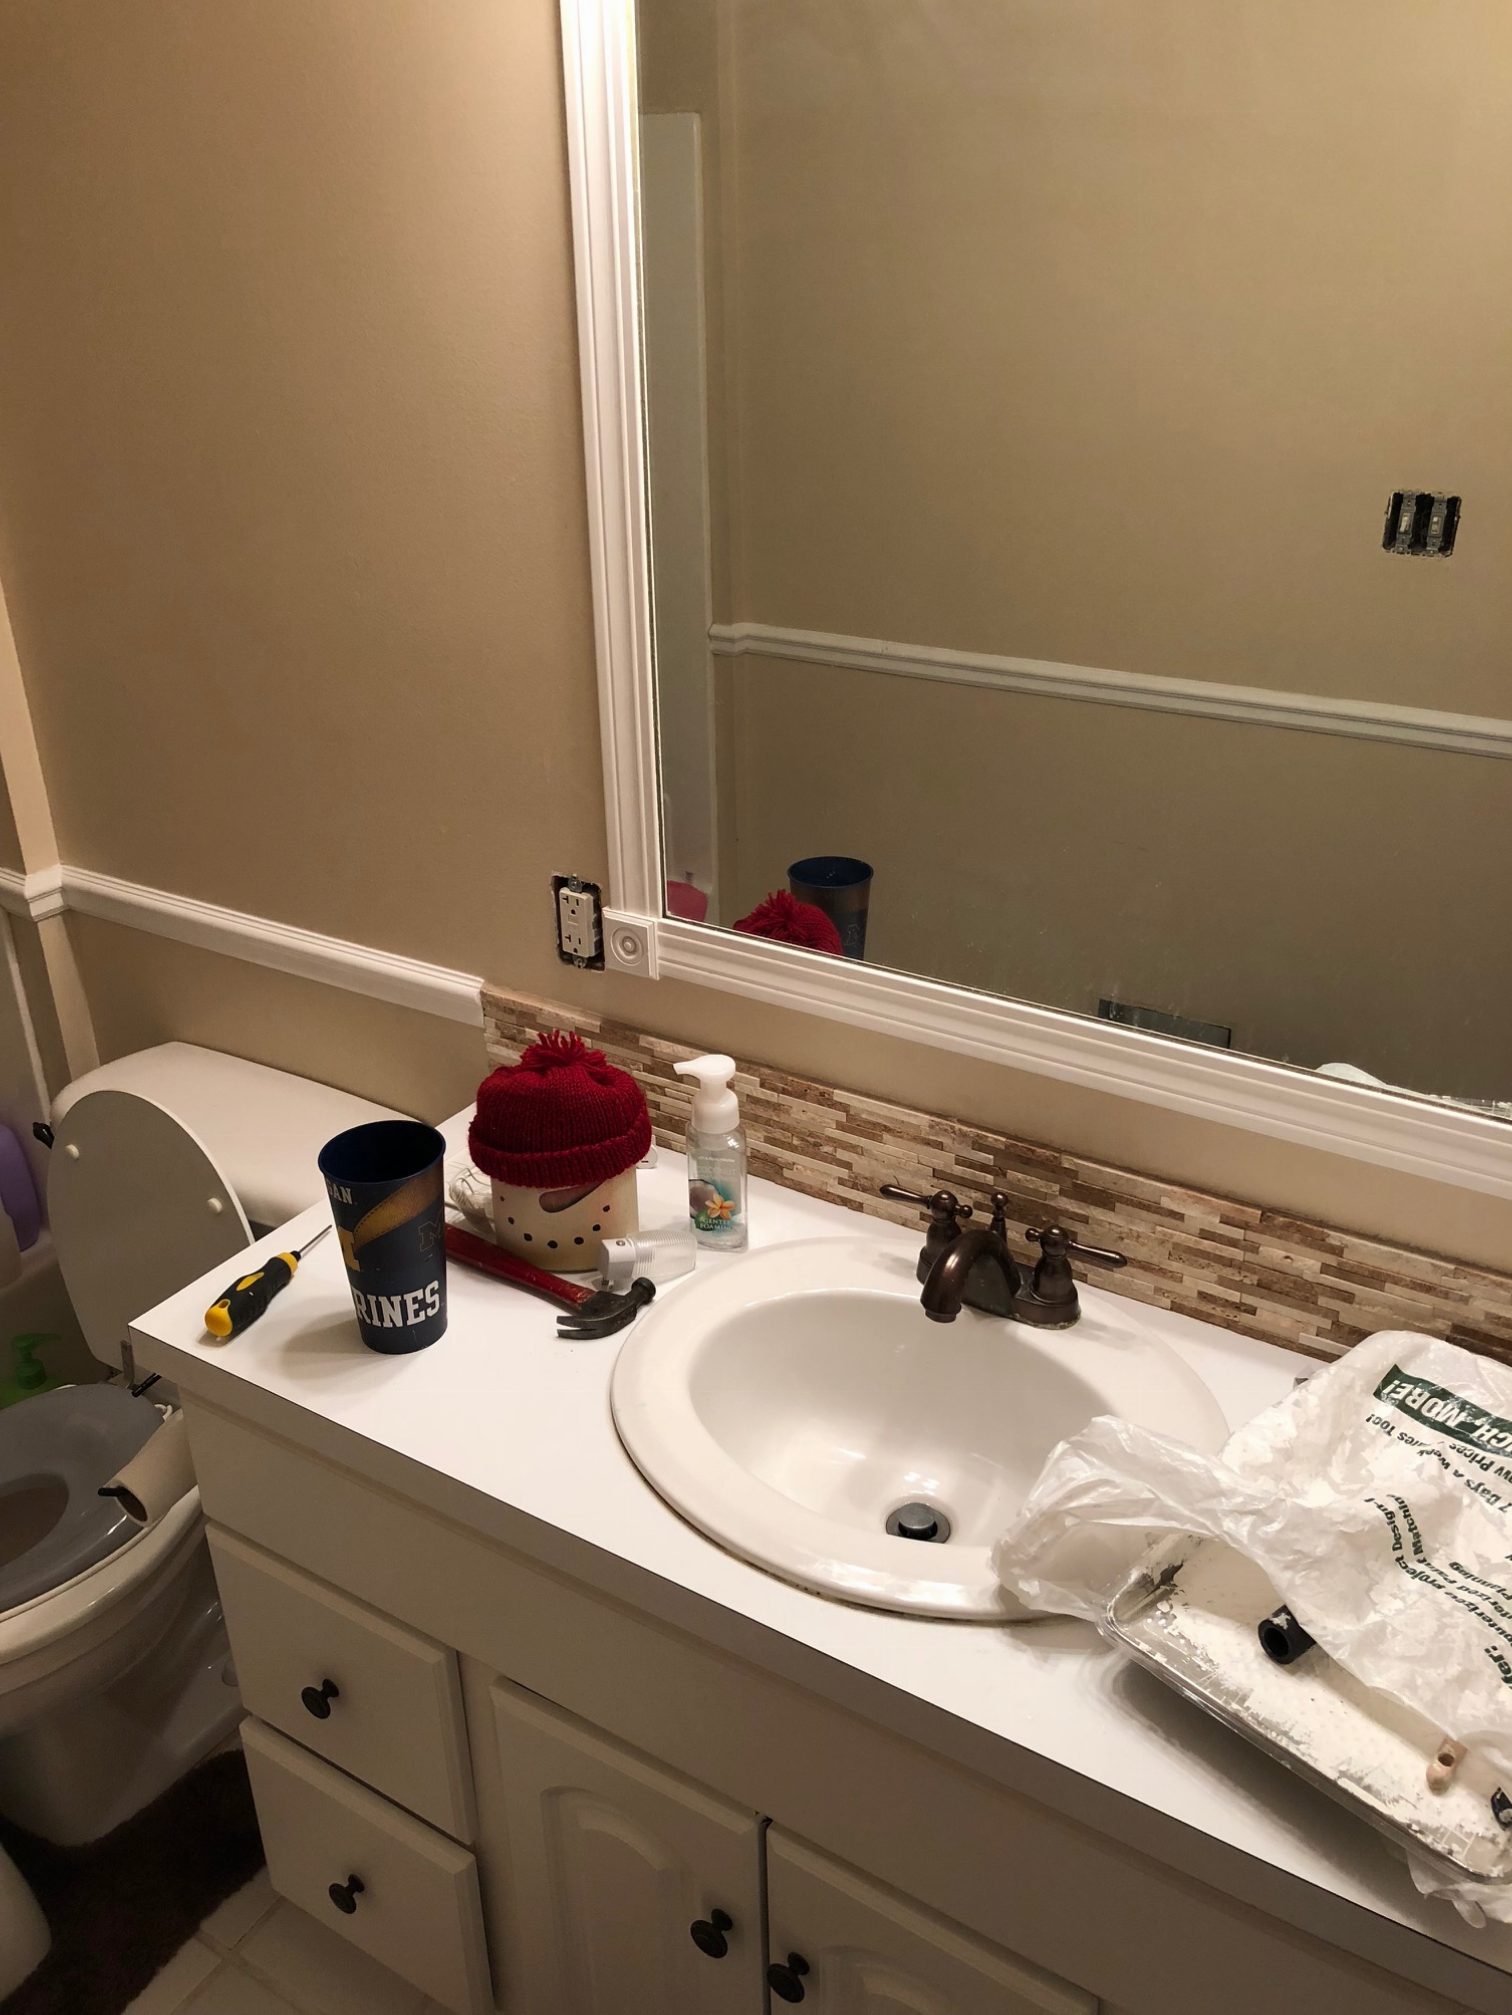
Here is our ‘before’:

What was going to be a simple paint job turned more complicated. The paint color on the walls is also on the ceiling so painting the ceiling is in order. Since I have white paint in there, might as well put a fresh coat on the trim and chair rail, right?? It took me just an hour one afternoon to freshen up all of the trim while the kids played uno and played with the babies. 🙂
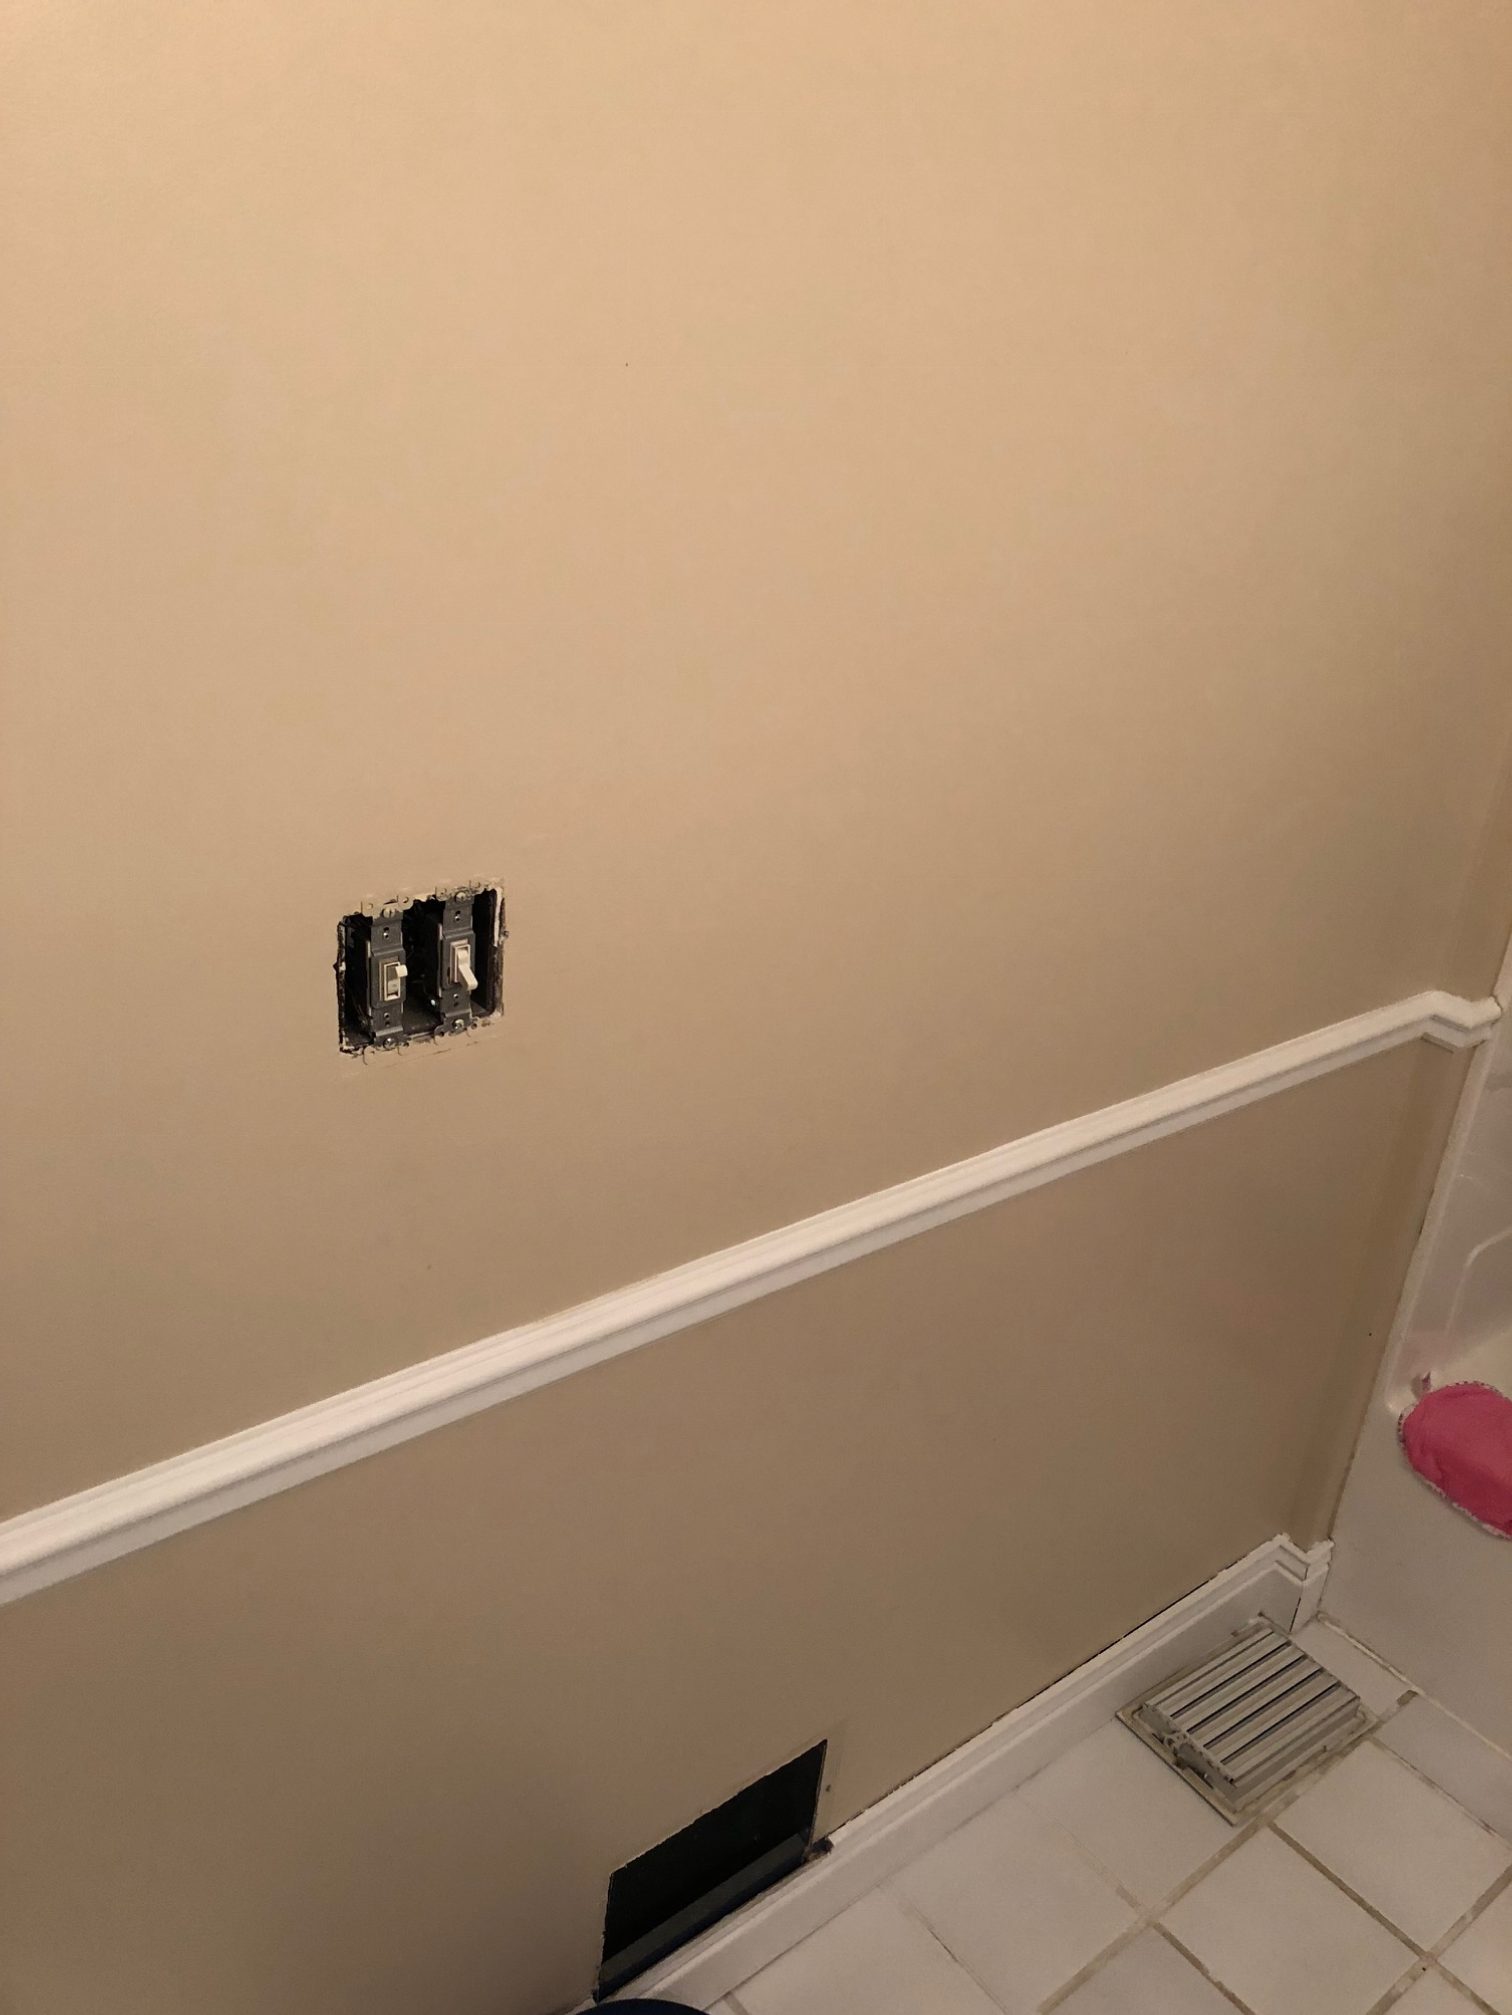
Operation Bye-Bye Brown and Beige
Through all of our flip houses, I have my favorite paint colors that I like to use. What’s better than experimenting with colors than as on other houses!? If I don’t love it, I don’t have to live with it. HA!
The paint color I love for bathrooms is ‘cinderblock’. It is a light and airy gray. Painting bathrooms is no easy task because there is SO much to paint around, but with the right brush you do not need to waste time taping. I use a 1.5 inch Wooster angle brush—that weapon and a steady hand= straight cut in lines no matter what.
So…to the bathroom makeover!
First up, the ceiling. Since I will be doing the ceiling in the bathroom and both bedrooms, I might as well do two coats! After all, who wants to haul out the paint again in a couple years? Not this busy mama! I always do the ceilings first as I find it easier to edge from the wall up to the ceiling vs ceiling down to wall.
With two coats on the ceiling, I was ready to tackle the walls. How do I have time with 6 kids 6 & under while working full time? Well, that is tricky. Thankfully, we discovered that plastic shopping bags keep paint and all your supplies nice for days and even weeks on end.
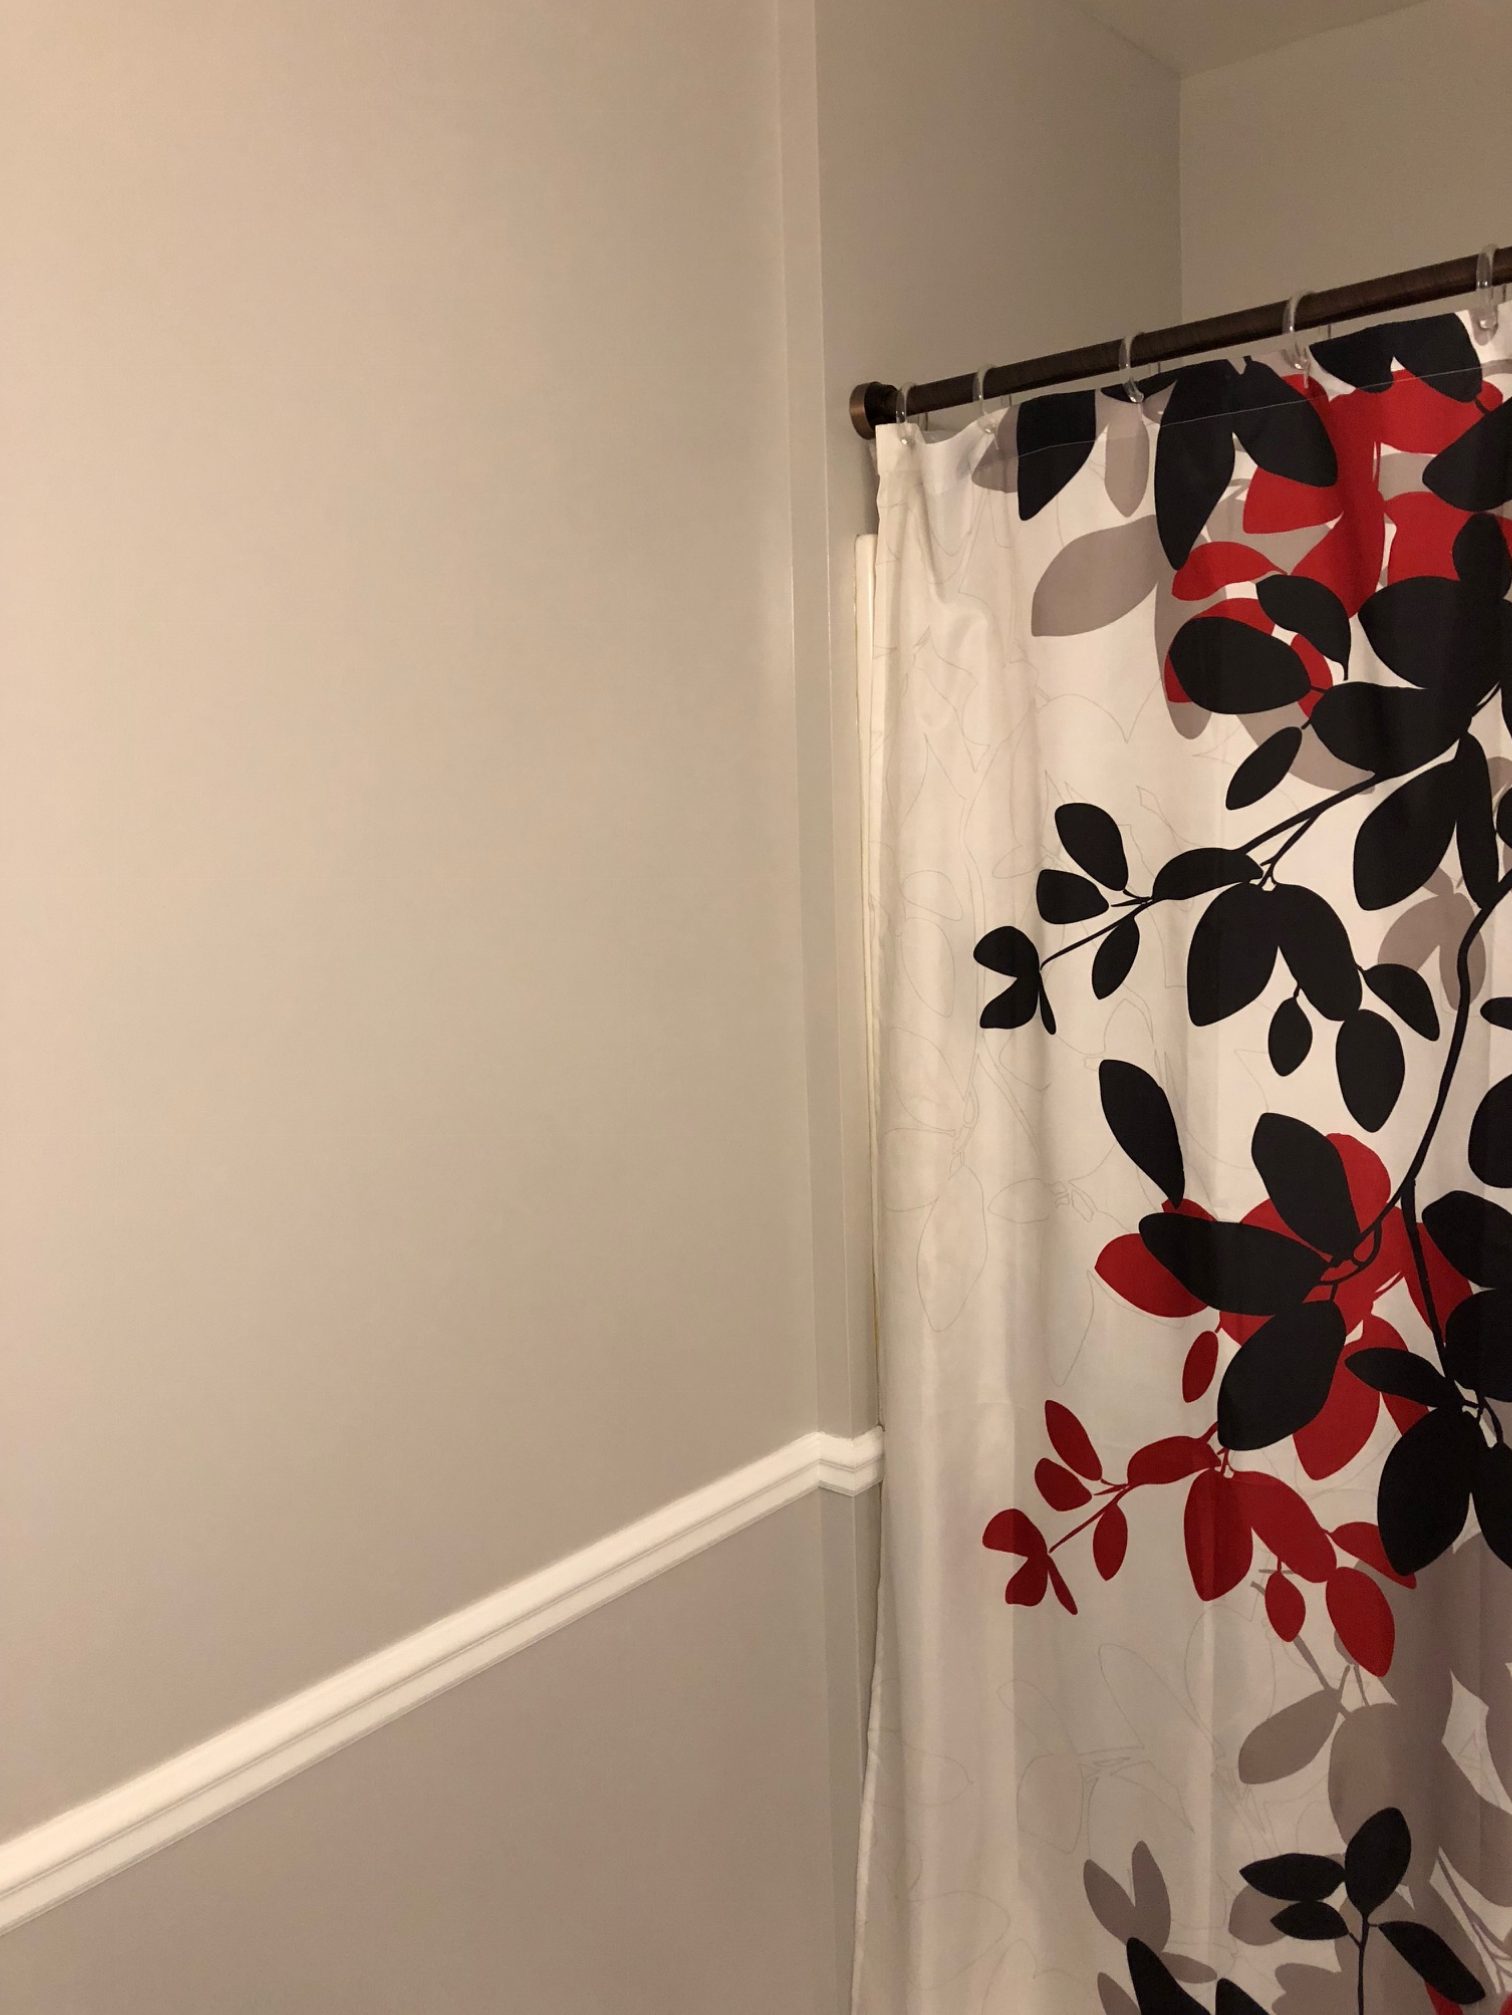
Here are my new ‘cinderblock’ walls (and I swapped out the shower curtain)!
New Sparkly Backsplash
With the walls gray….our brown tile backsplash no longer matched. We put this tile up when we first moved in…………and we put it up to stay!!! That tile did not come off easy, and we had to do some wall repair. Whoops. :/
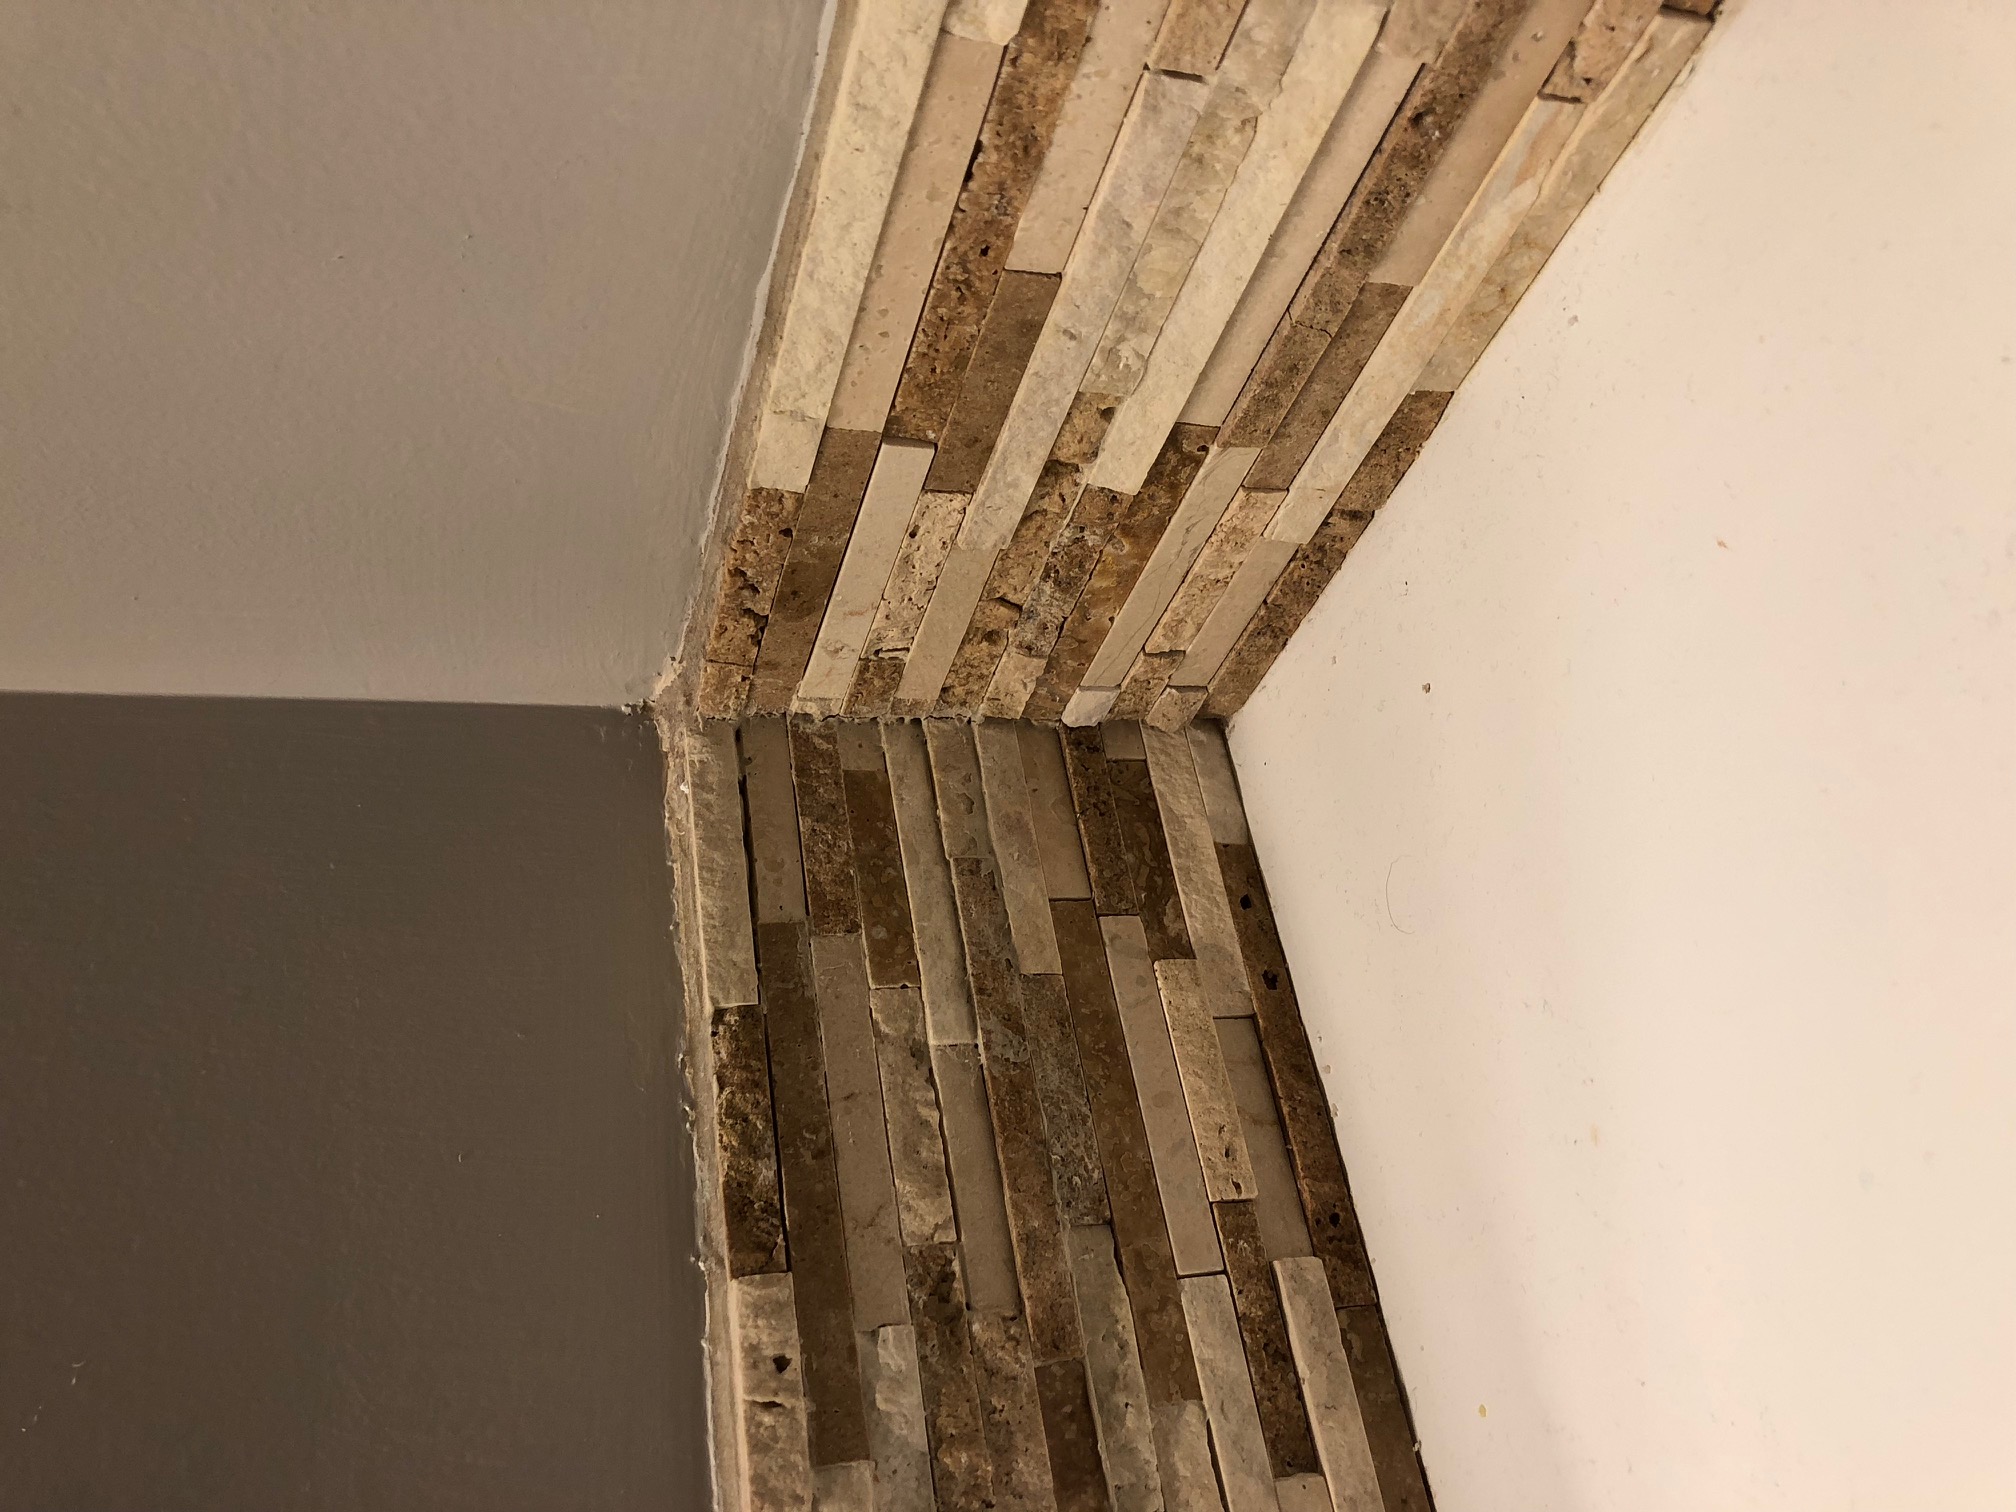
It is actually pretty impressive tile work considering it was our first tile job ever. Since then we have done LOTS of different tile….yet we still do not own our own tile saw. LOL! Thanks to my brother, Derek who has done a couple project houses as well for letting us use his all the time! (Click here to check out his FB page where he posts video updates!)
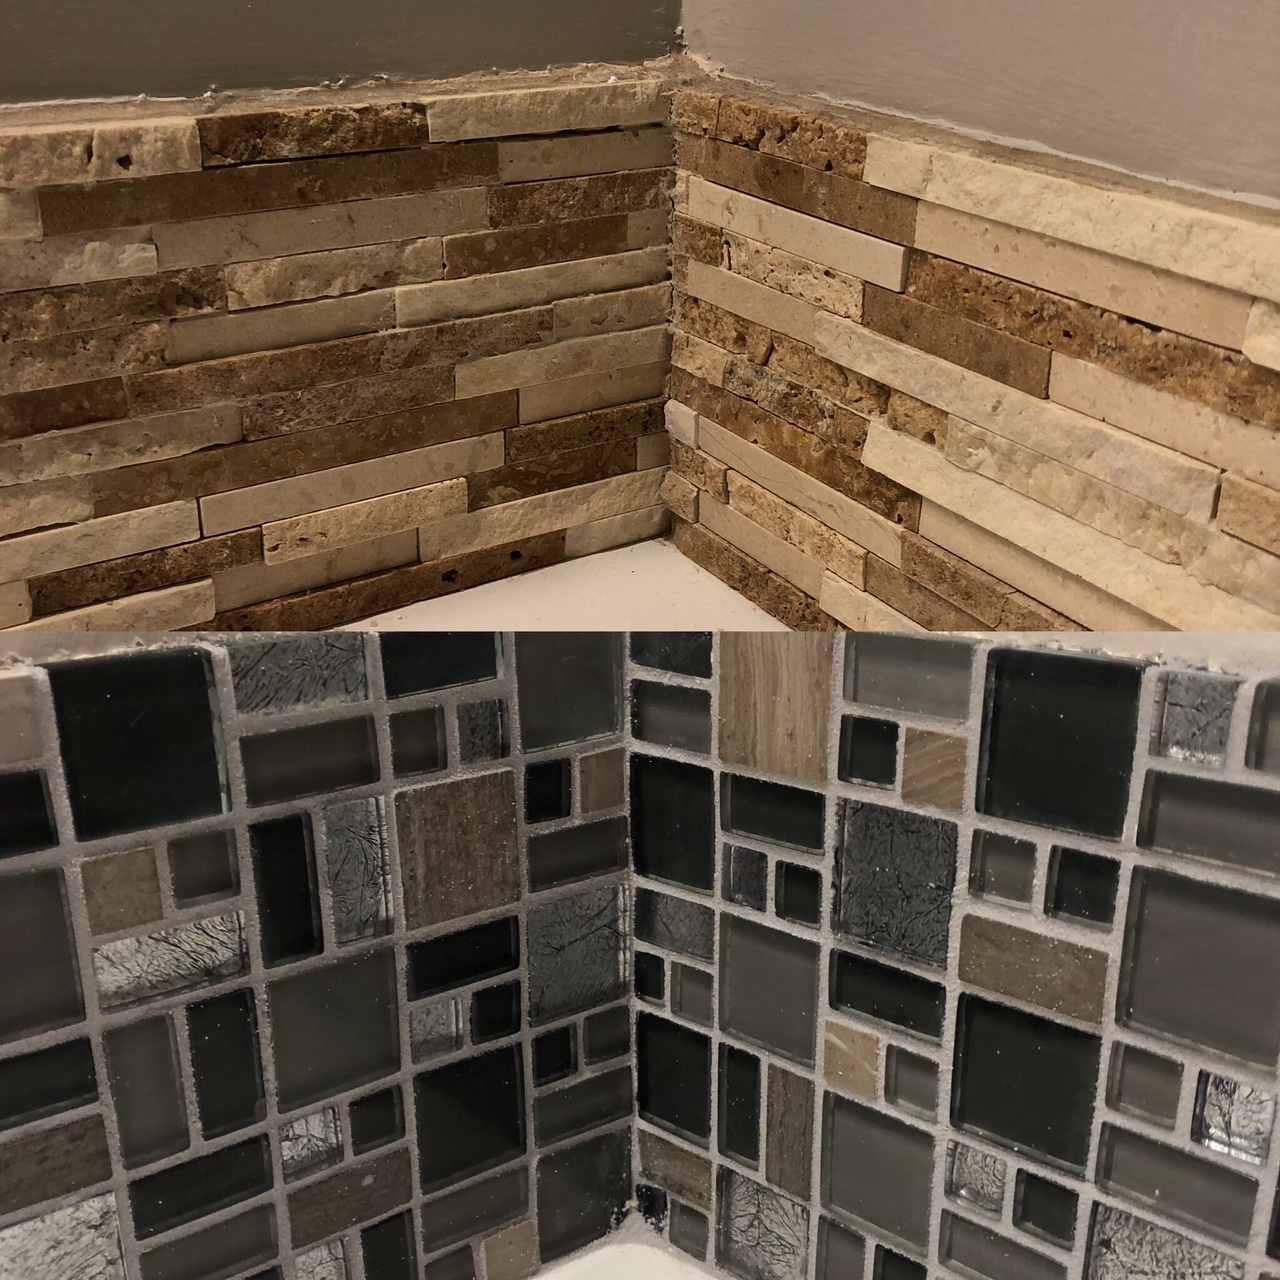
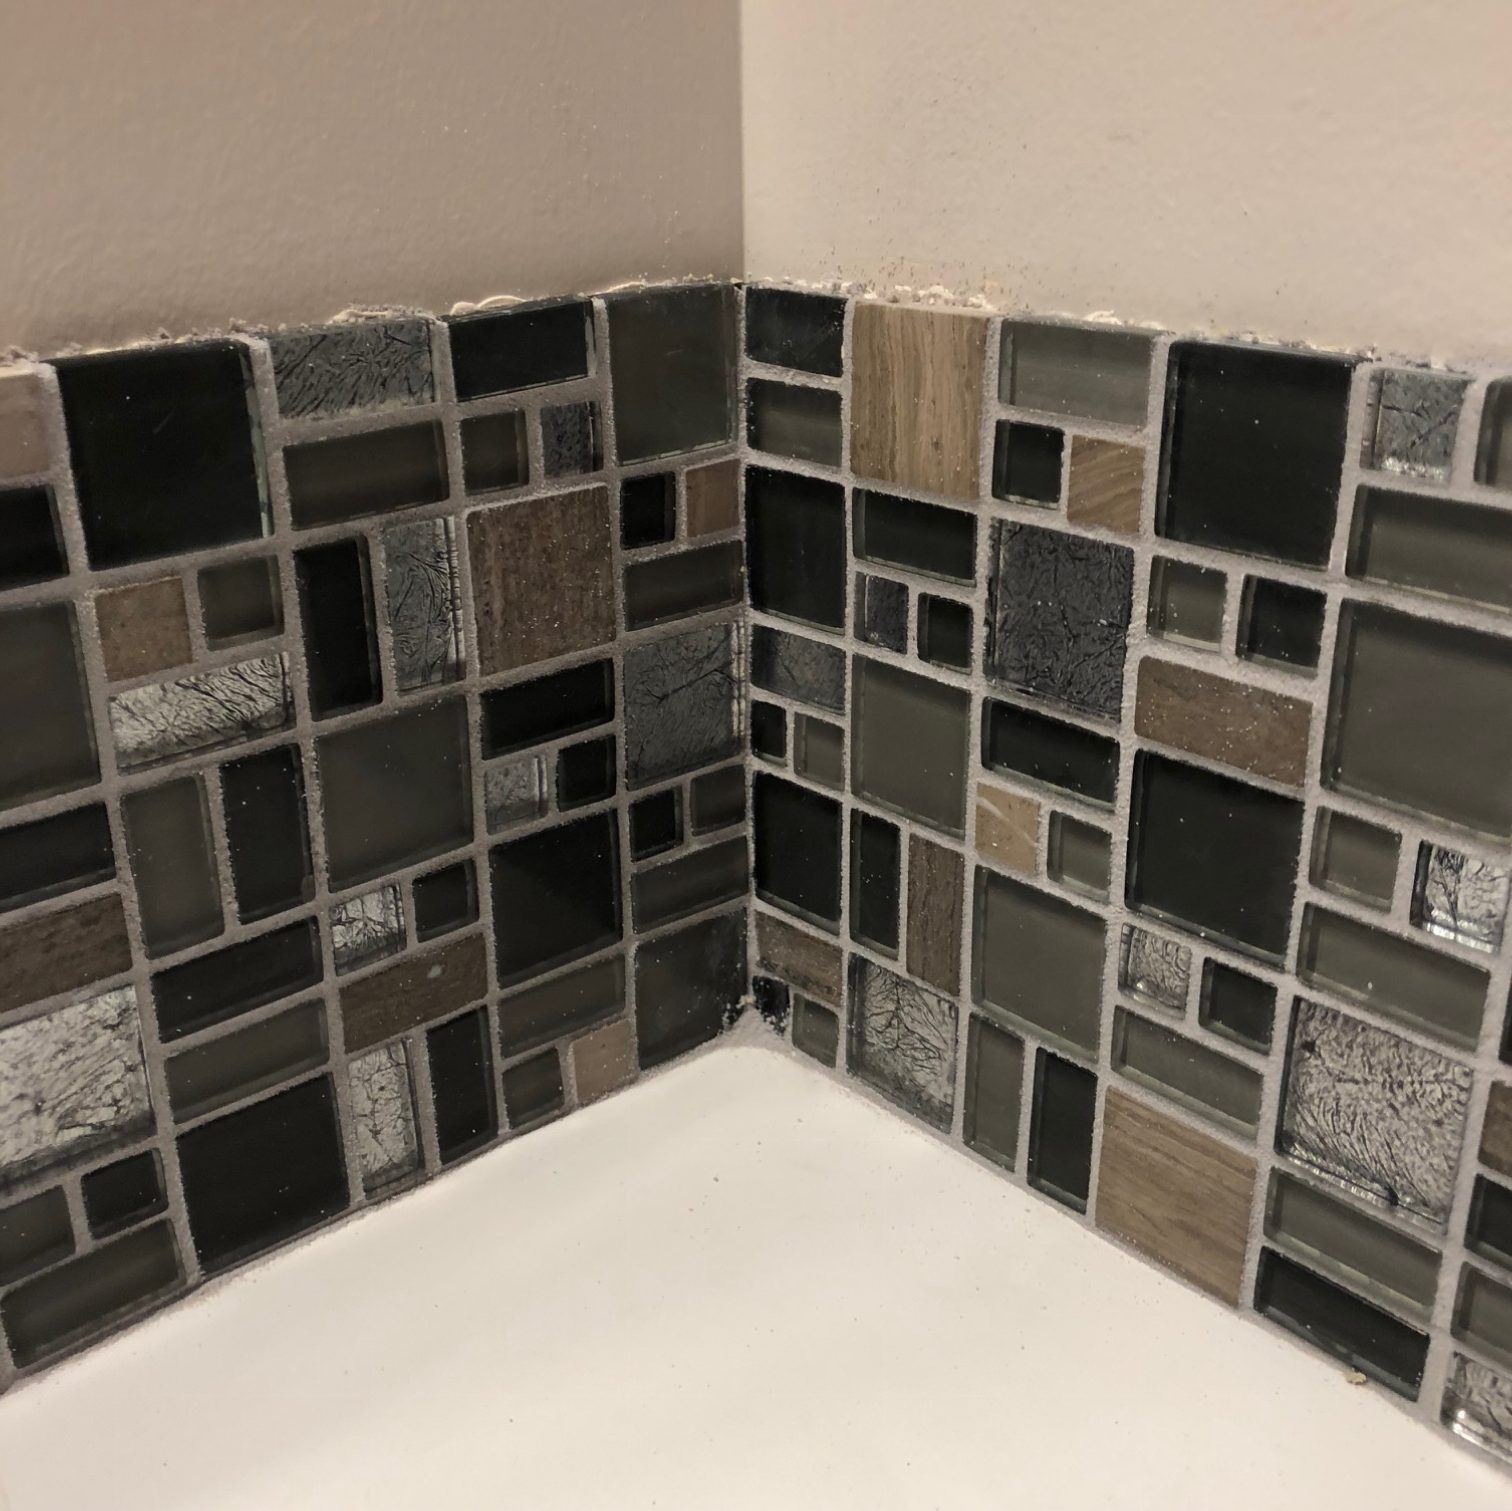
For our kids’ bath, we took them to the store to help pick out the backsplash. We decided on a black/gray/white glass mosaic tile. For those of you who have not done glass tiles, you need a special ‘diamond’ blade to cut them or else the glass will just shatter.
Once our wall plaster patch job was dry, Tim went to work buttering the tiles with mastic. Although the premix is more expensive, it is SO worth it. We have mixed up mastic before and unless you have a smaller job or infinite time, it does not save well overnight. We will always spend the extra money for the pre-mixed variety!
Here is the old and then the new!
Another lesson learned, clean all your mastic that pushed through into the seams before it dries. Wiping off dried mastic and then dried grout is NOT fun.
For this mosaic tile, we used a colored grout called ‘Dolorian Gray’—back to the future! HA! I LOVE it!!
Vanity Refresh
We could not decide what to do with our vanity. It is 55inches long which isn’t a super popular width. They do still make them that width, but they come with a hefty price tag. I really don’t feel like spending over $1000 for a vanity. Ugh.
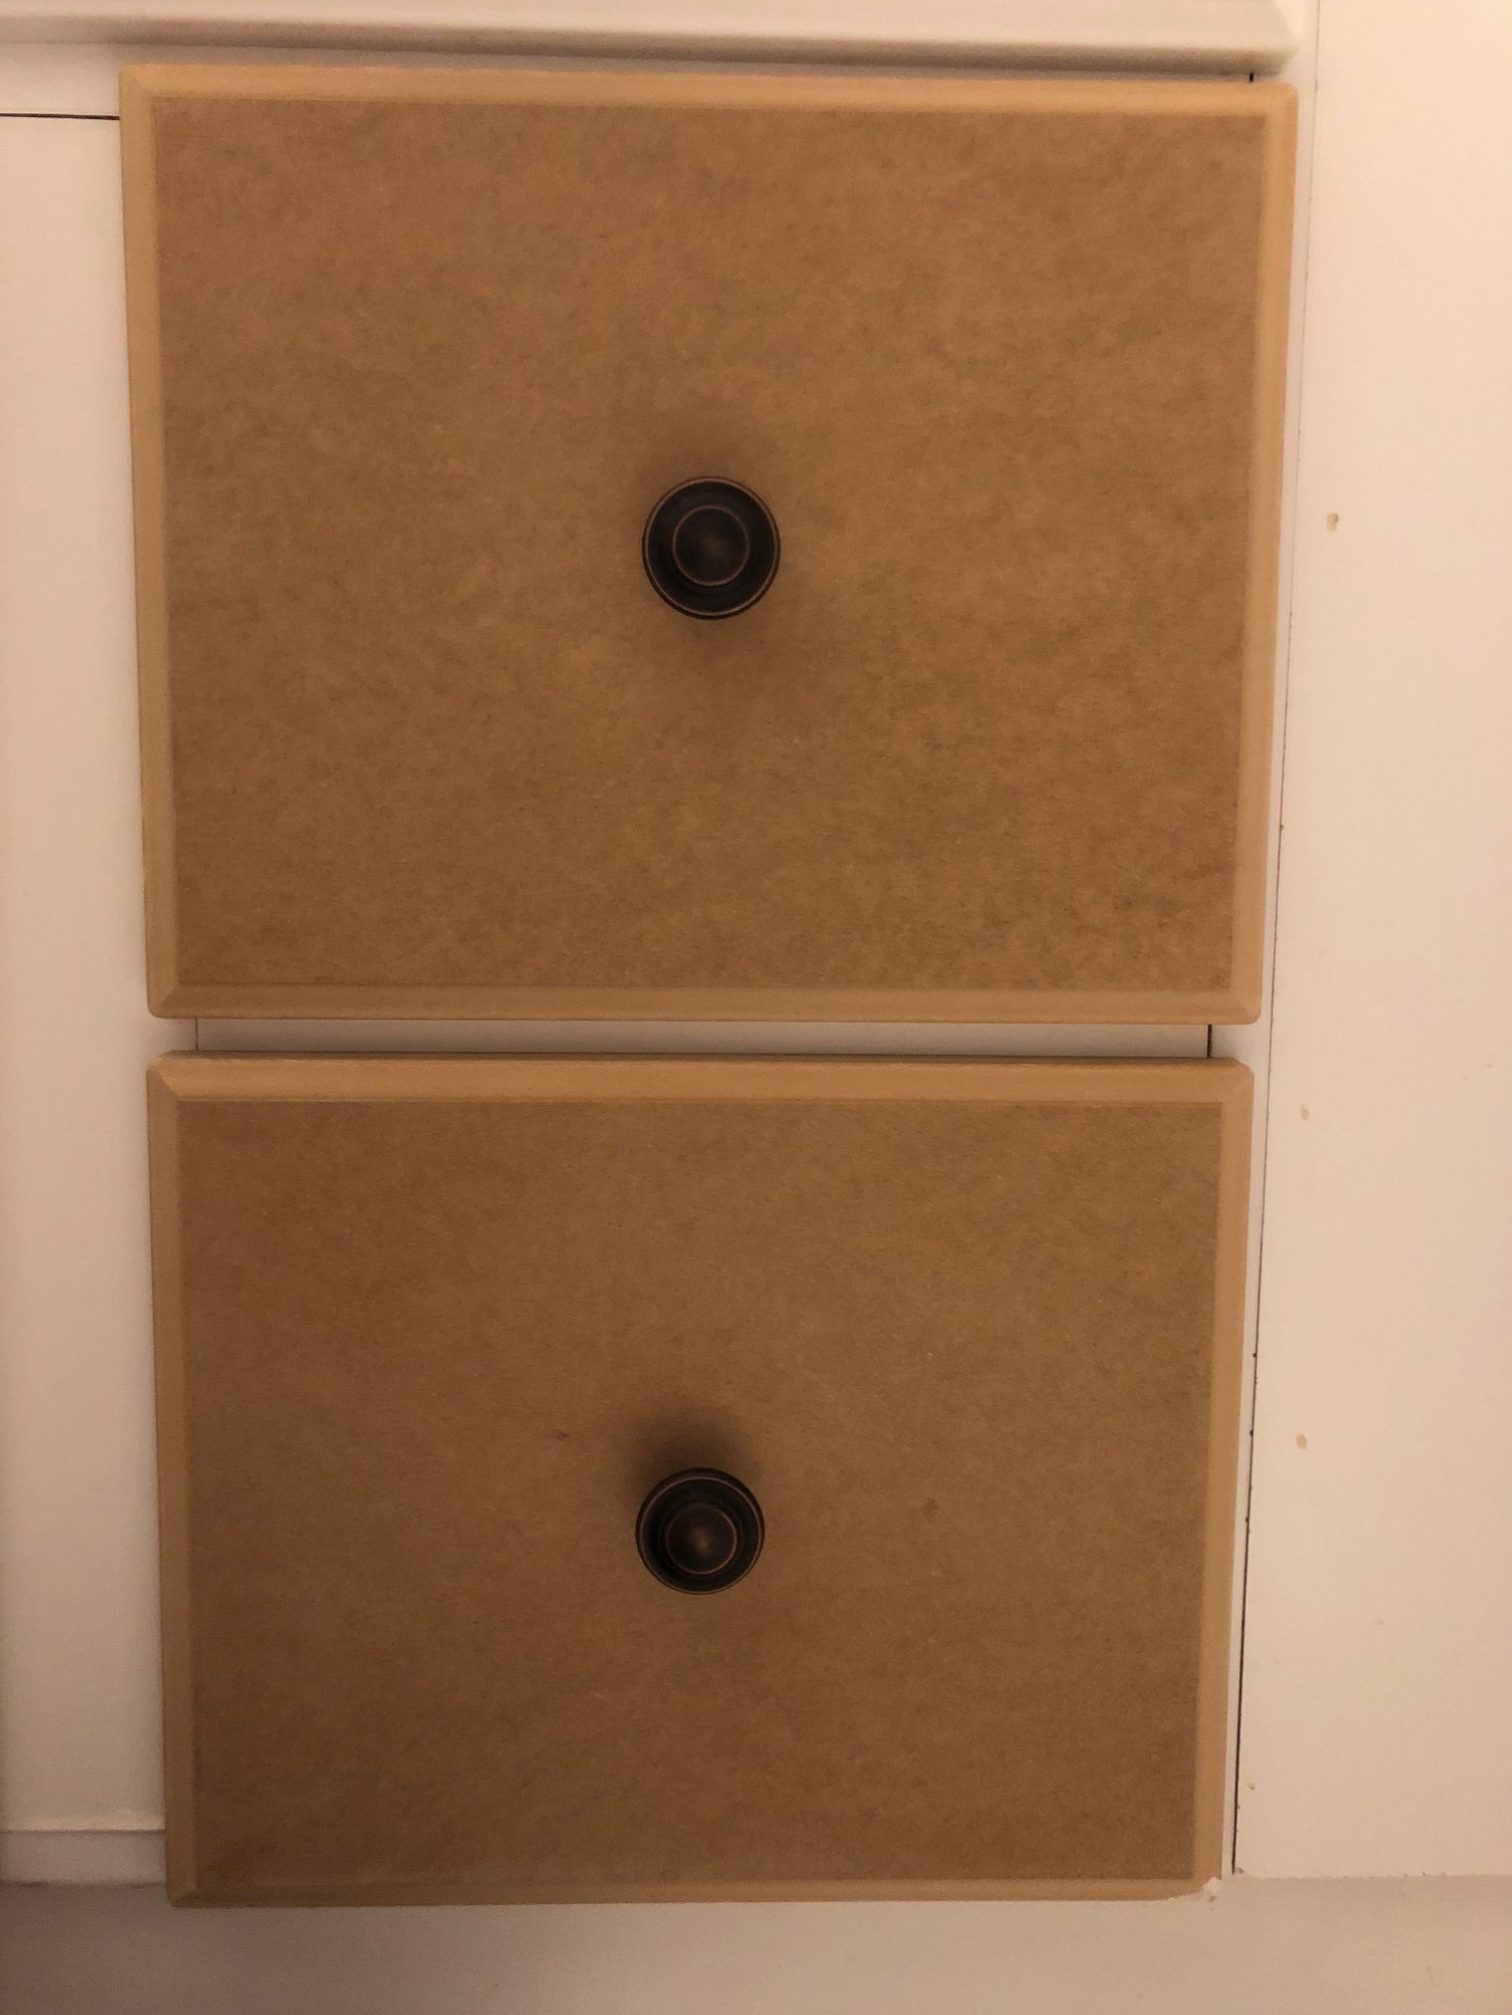
Problem: All the corners of the drawers are split and peeling off and cannot be fixed.
Come to find out, all of the ‘finish’ just peels right off. Oh my lands!!
SO…..let’s just paint it!! This bathroom makeover keeps getting more extensive.
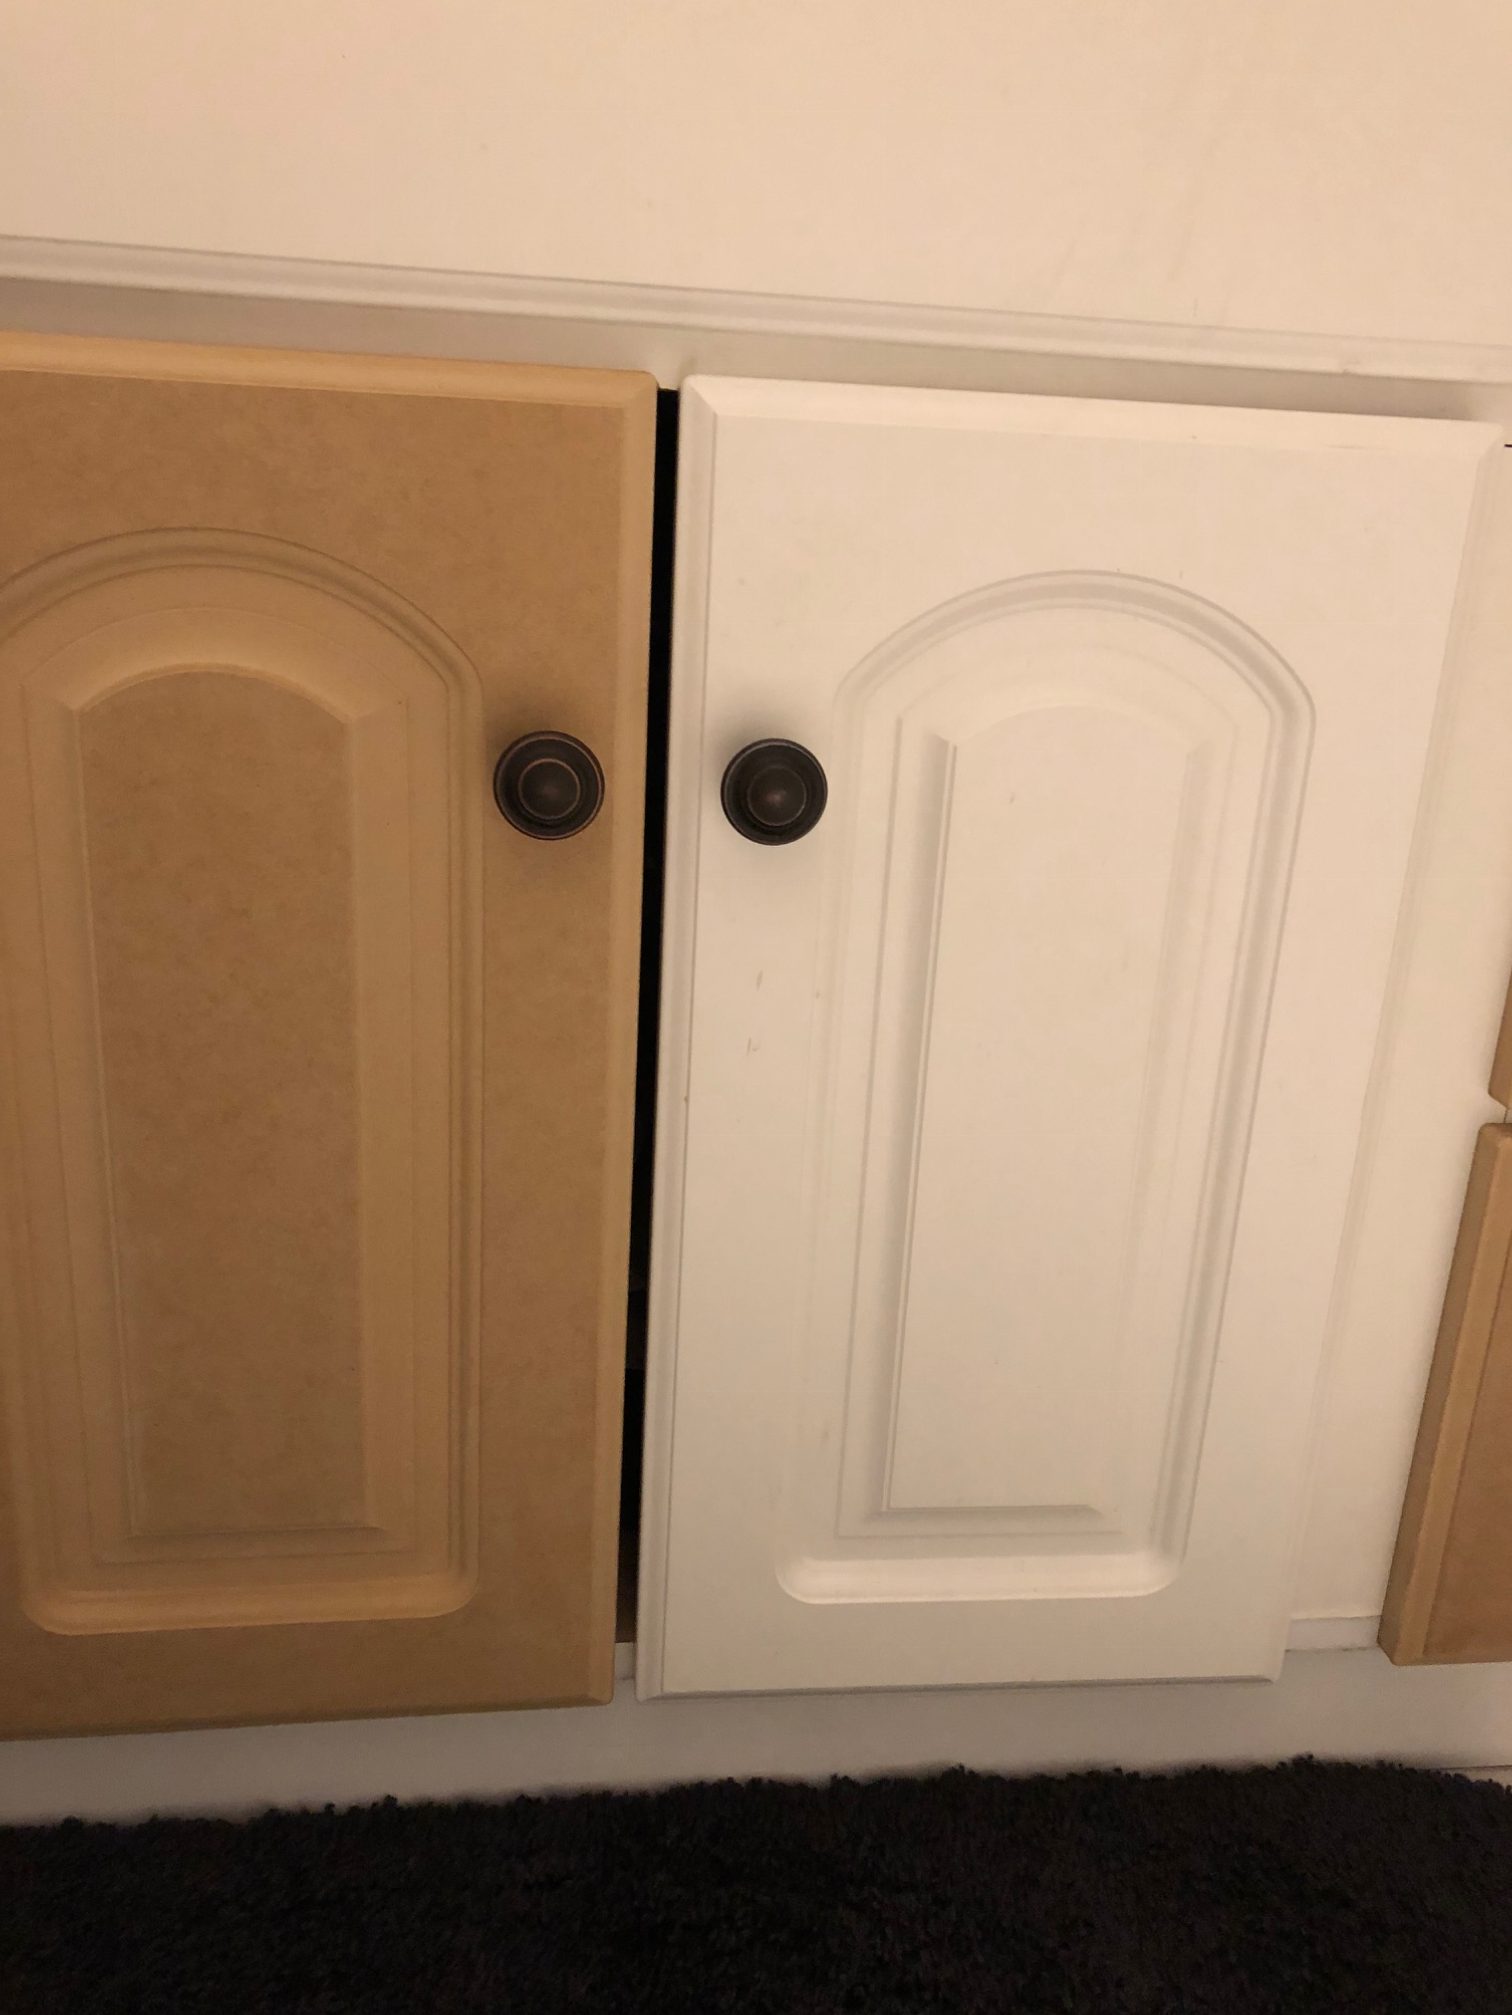
You might be thinking….how will you match that? Its not like you can just go and pick up white paint and think it is going to match. That is like 1 in a million chance!
I took my peel off to our local big box hardware store and had it color matched! Worked like magic and I LOVE it!! Bonus: It only cost me a quart of paint instead of $1000 or more for a whole new vanity! WOOT WOOT!