If you missed the last post showing our demo completion, you need to check it out to appreciate how much we have accomplished already! The kitchen cabinets in this house could not be reused. All of them were mismatched and some of them were not in the best of shape. Starting from scratch is a new experience for us, so we plan to learn ALOT!
Related: Kitchen Construction Part 1
Plan Your Space
It is no secret that kitchens sell homes. So no pressure, but don’t screw up the kitchen! Not to mention it is expensive so to re-do something is not in the plan either!
Do any of you watch HGTV and see the kitchens come together like magic? Everything fits perfectly and it seems to come together in no time. Well guess what….that is not real life! If you want to watch a more realistic kitchen reconstruction, tune into the DIY channel and watch ‘First Time Flippers’ and prepare to laugh your head off. Cabinets are improperly assembled, hung incorrectly, and often get hired out.
When measuring the kitchen and where all of the appliances were going to be, it would have been helpful to know the following—so I am cluing you all in:
- Standard dishwasher: 24 inches
- Standard stove: 30 inches
- Side by Side Fridge/Freezer: minimum 32 7/8 inches
- Standard Microwave: 30 inches
I HIGHLY recommend marking off where the appliances will sit and then figuring out how much space you have on either side for cabinets.
Measure 100 Times and Order Once
Once you have measured out where your appliances will be, measure what space you have left for your cabinets. Kitchen cabinets come in so many different widths!! Pick what kind of cabinets work best for your space (drawers, cupboards, or combinations) and order them to fit AS TIGHT as possible. You can also order filler boards if you have some gaps between the edge of the cabinet and the wall.
So what does $3000.00 of cabinets look like when you pick them up from the store??
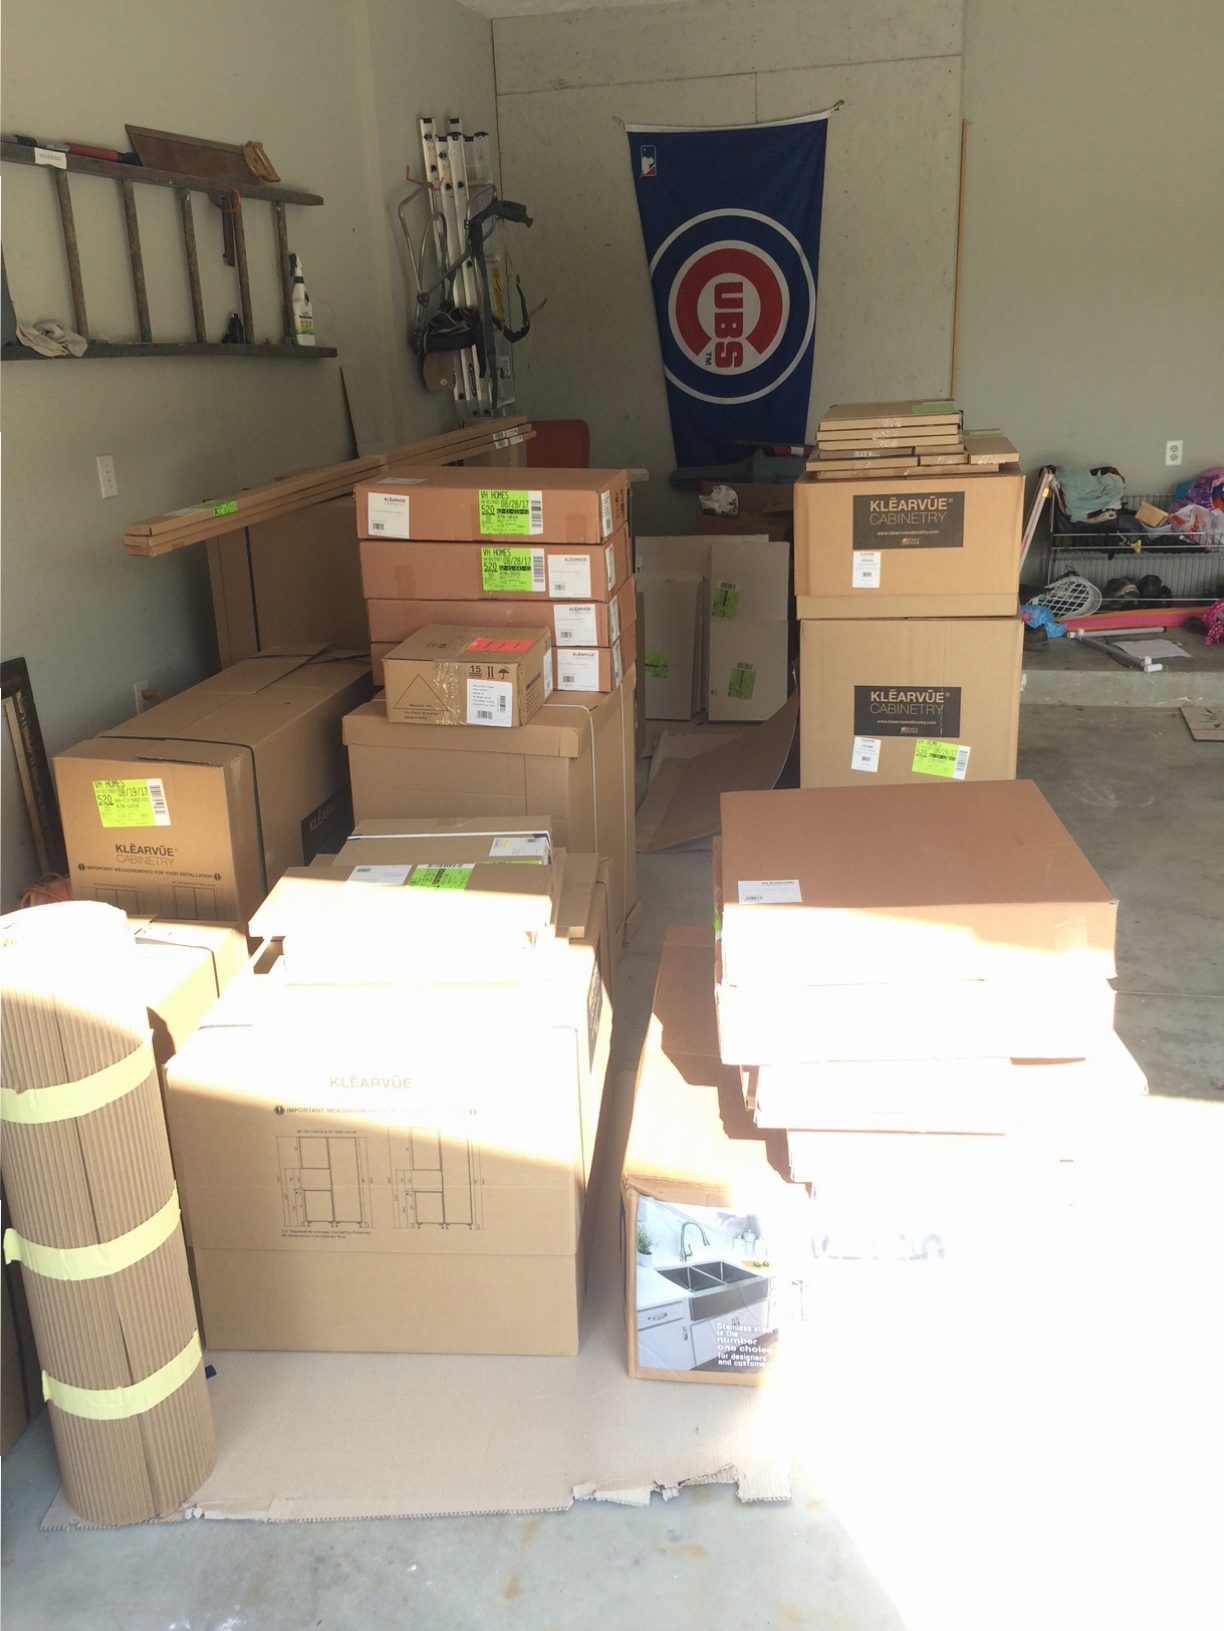
Each box had an item number on it. You would think that one box was one cabinet. Nope. The cabinets and doors were in separate boxes that had to be matched up. Talk about adding a step!! We hauled a few boxes at a time into the house and started to assemble them all here and there as the children allowed.
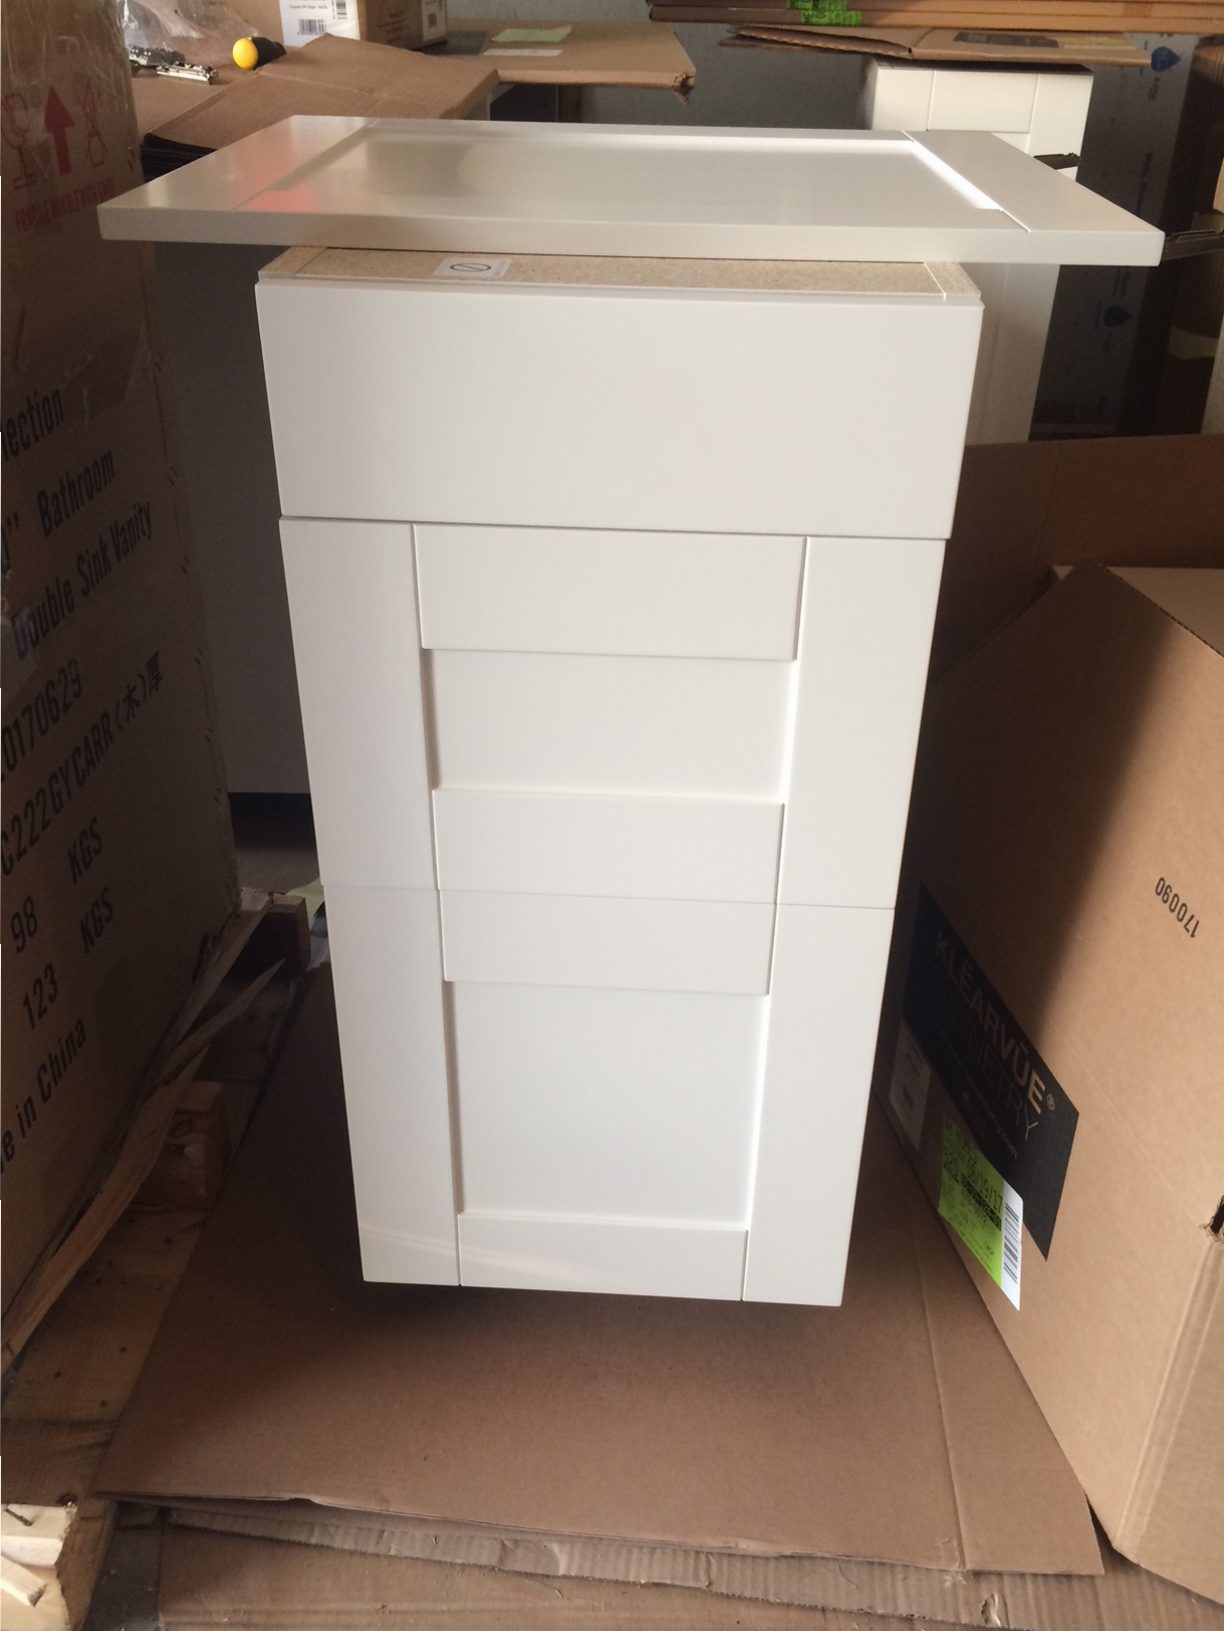
There is an extra cabinet door on top, but here are our cabinets! I LOVE them!!
Transport and Lay Out
Thanks to the help of my parents empty minivan and our Honda Pilot, we were able to transport all of the cabinets over to the project house in just two trips!! Woot!! Once we got them over there, I had to place them where they needed to go according to my online schematic. I may have spun myself around a few times placing all of these kitchen cabinets in the correct spots, but I got it!
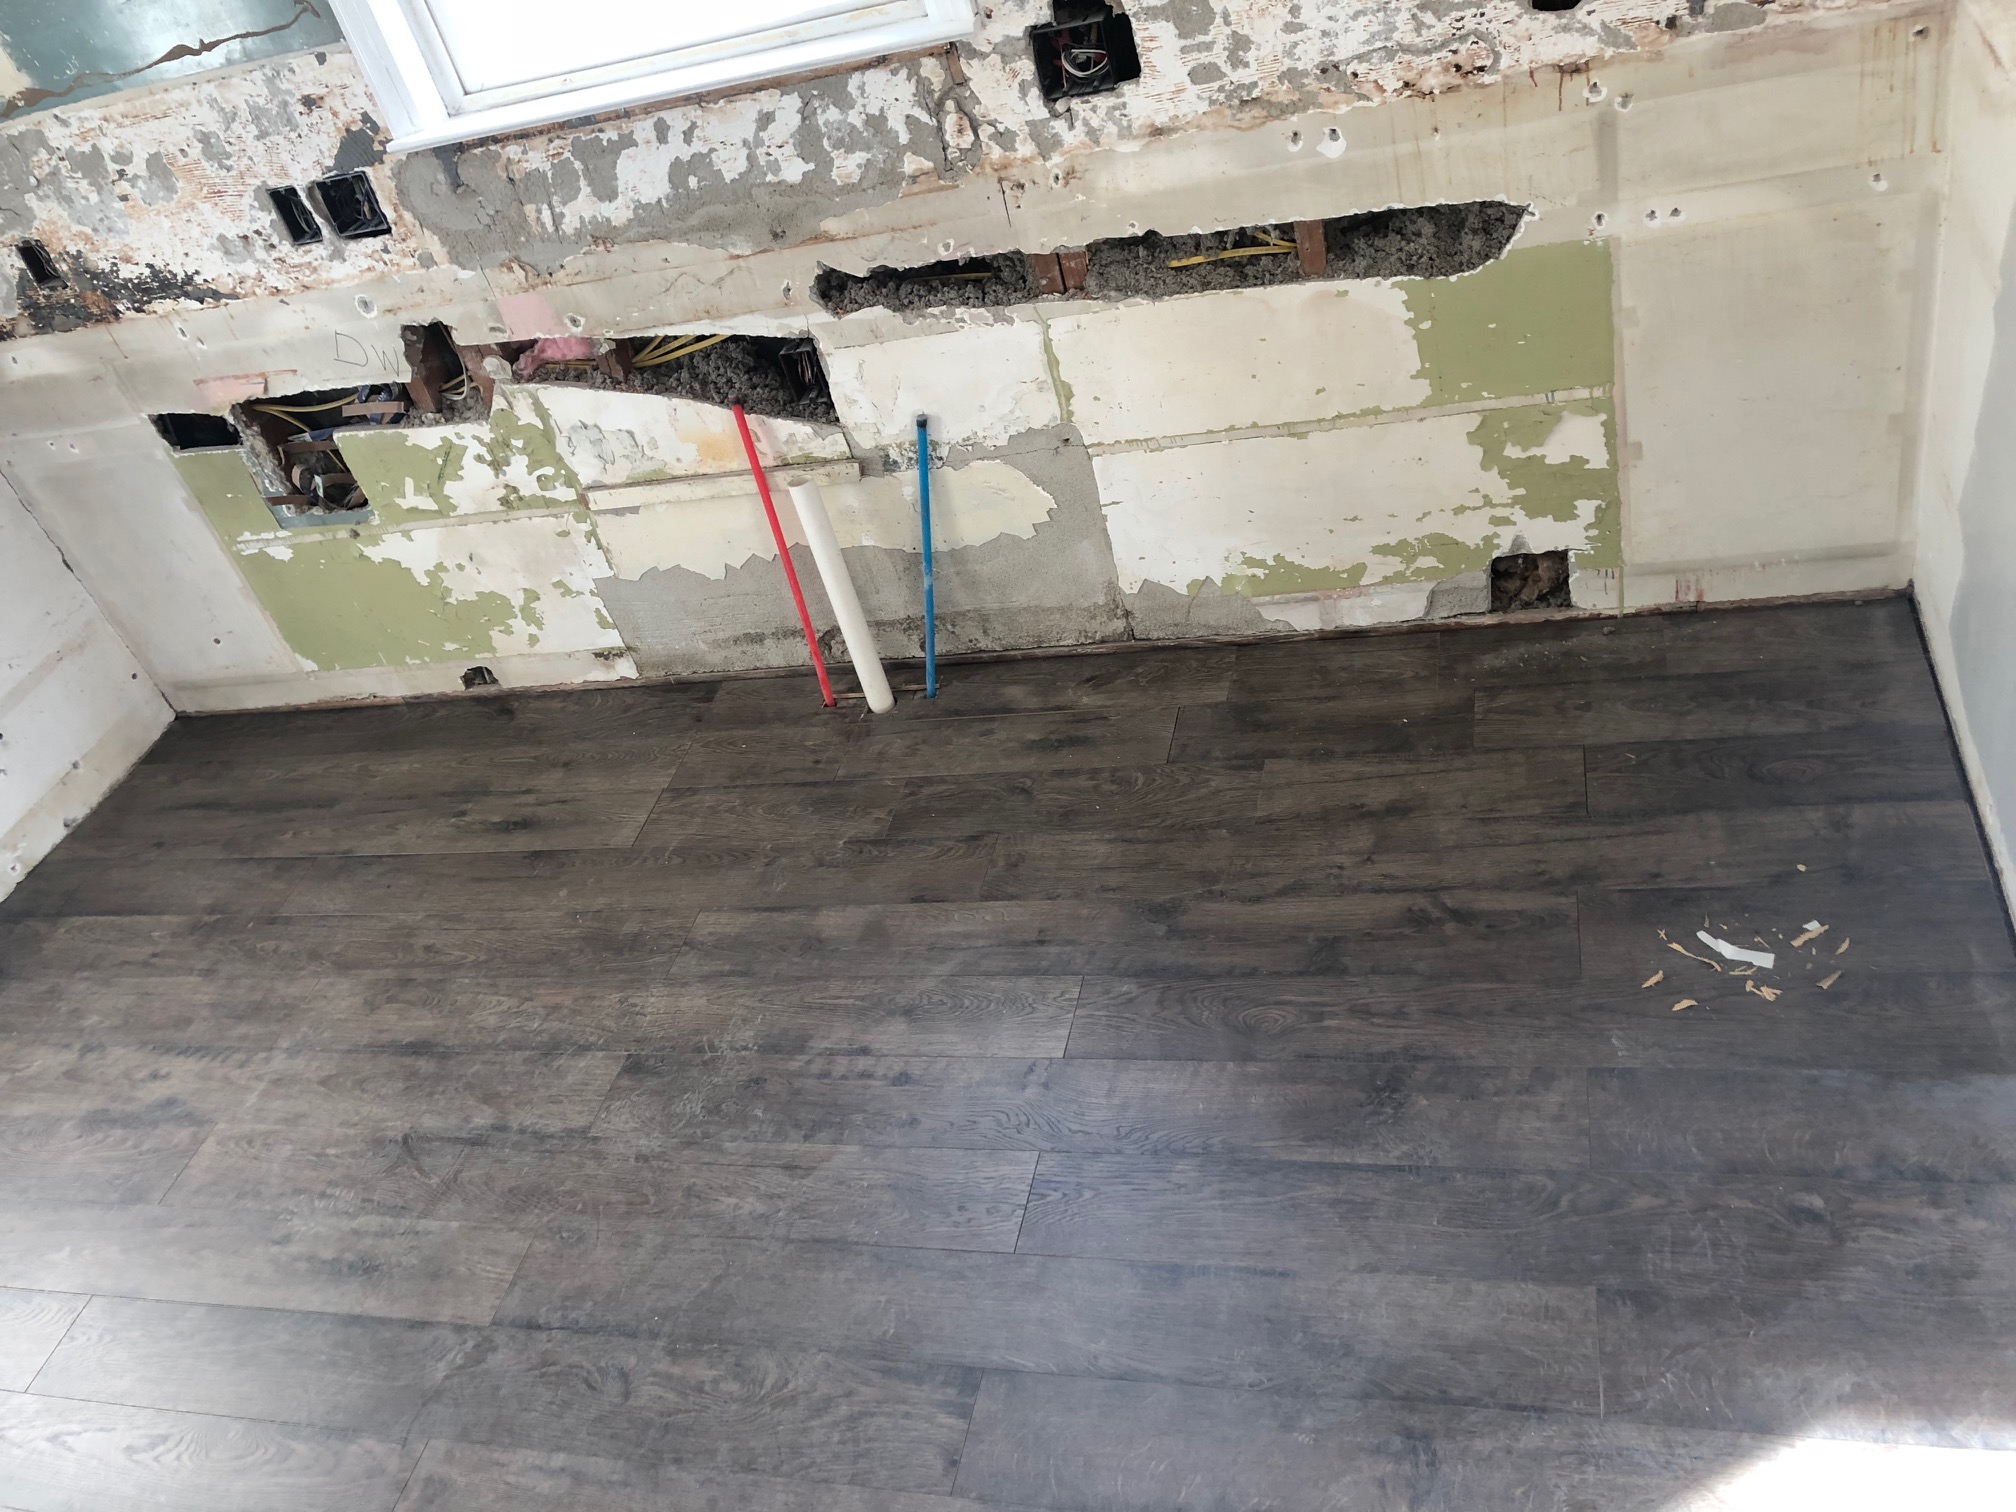
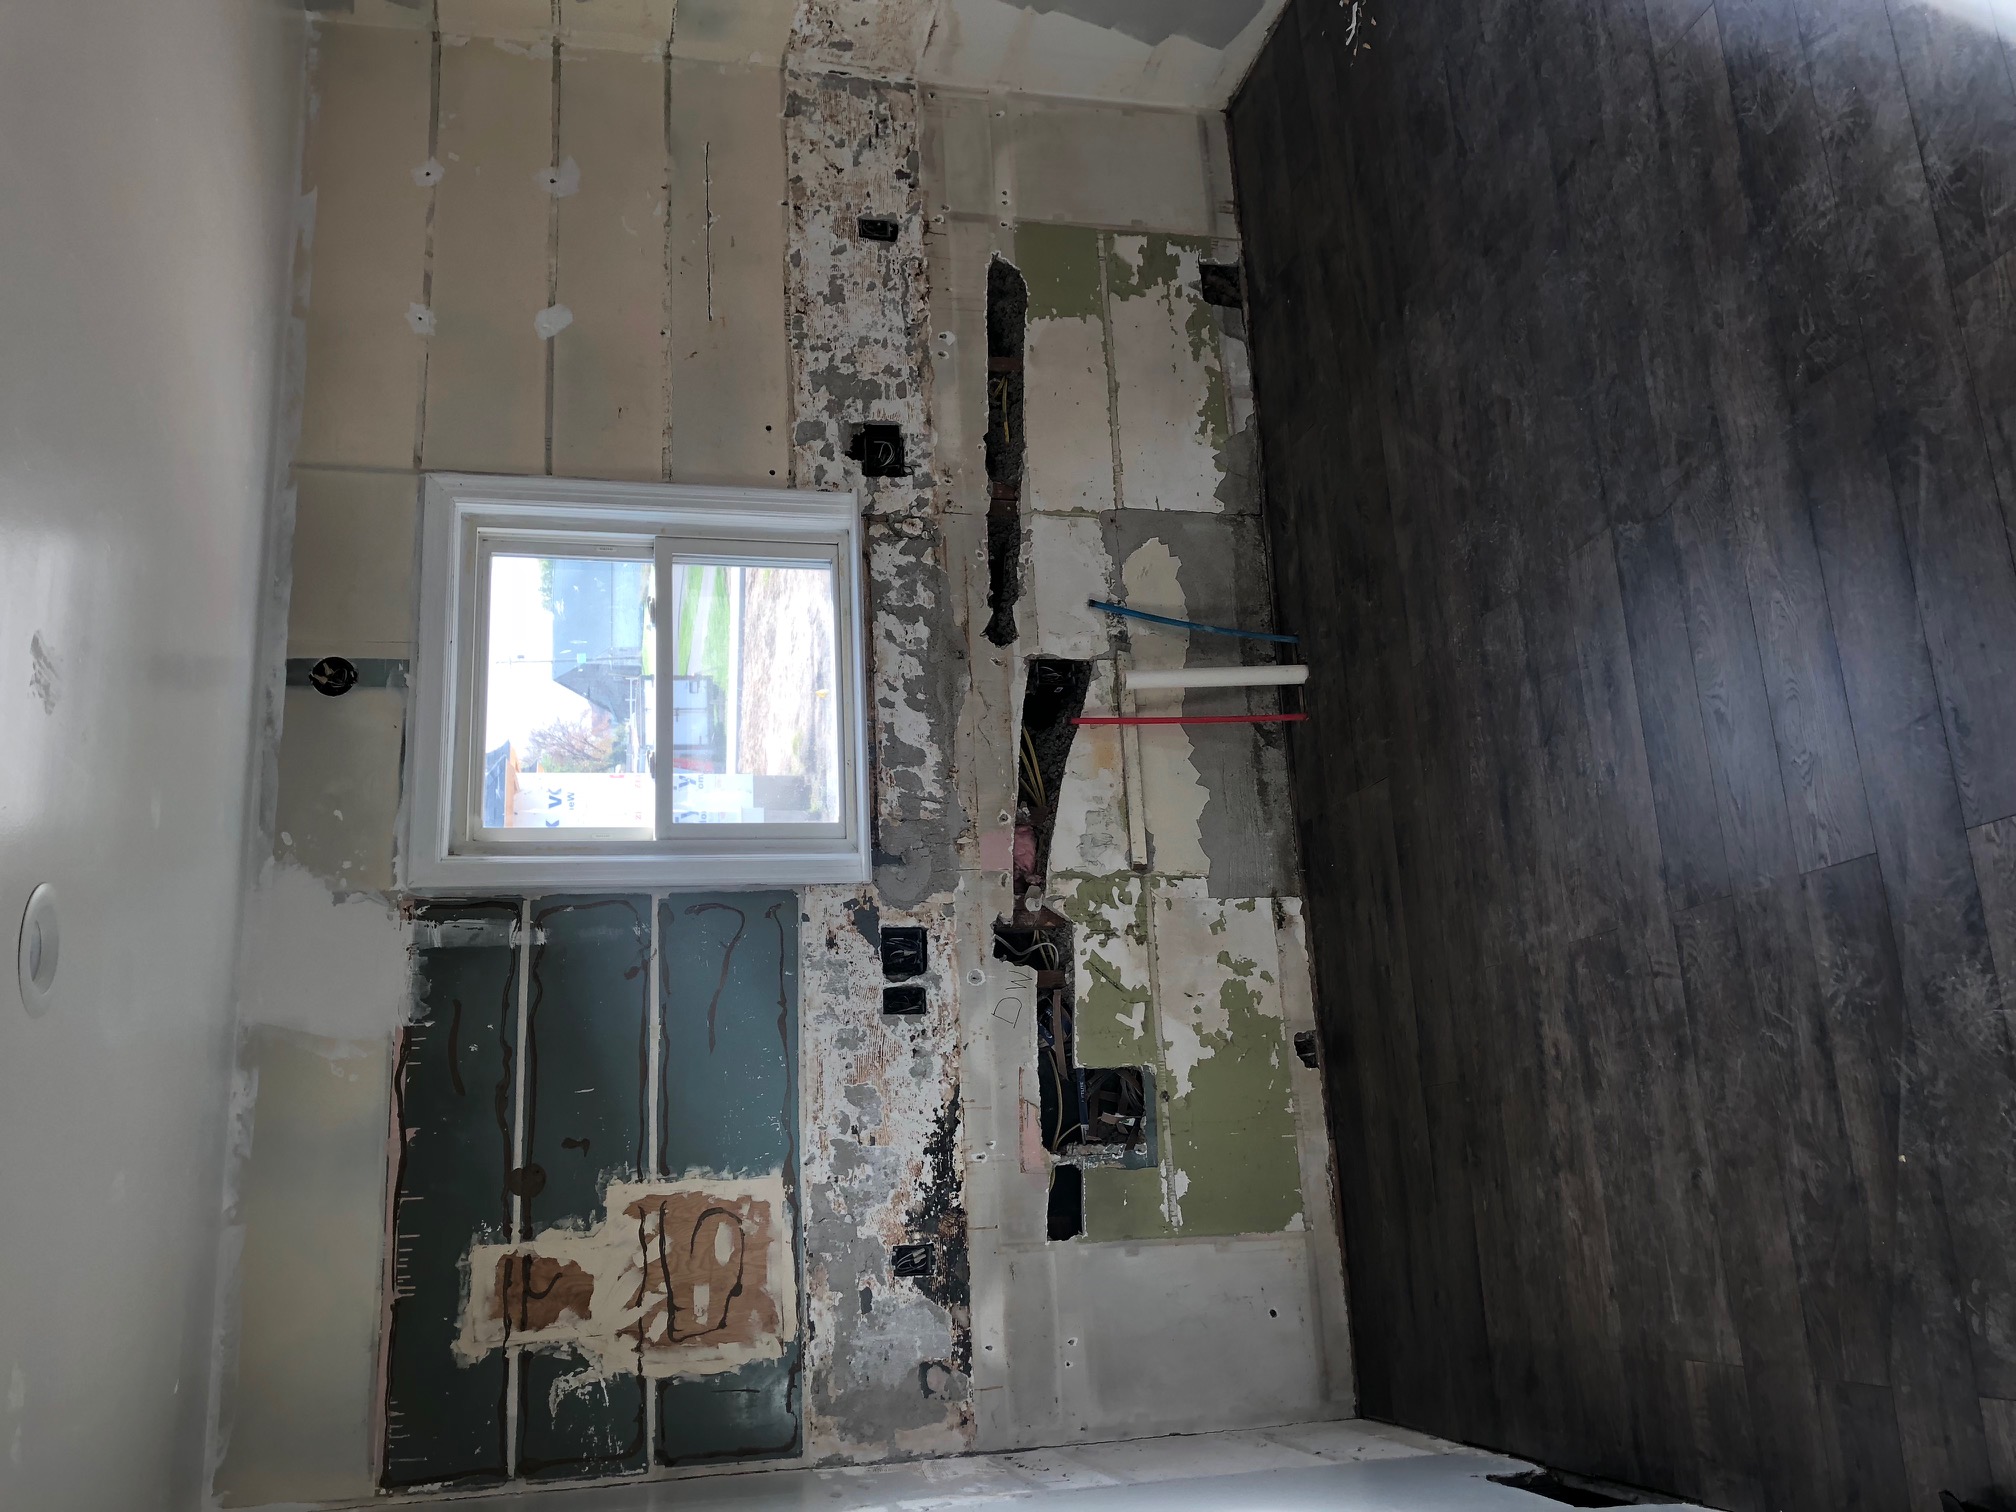
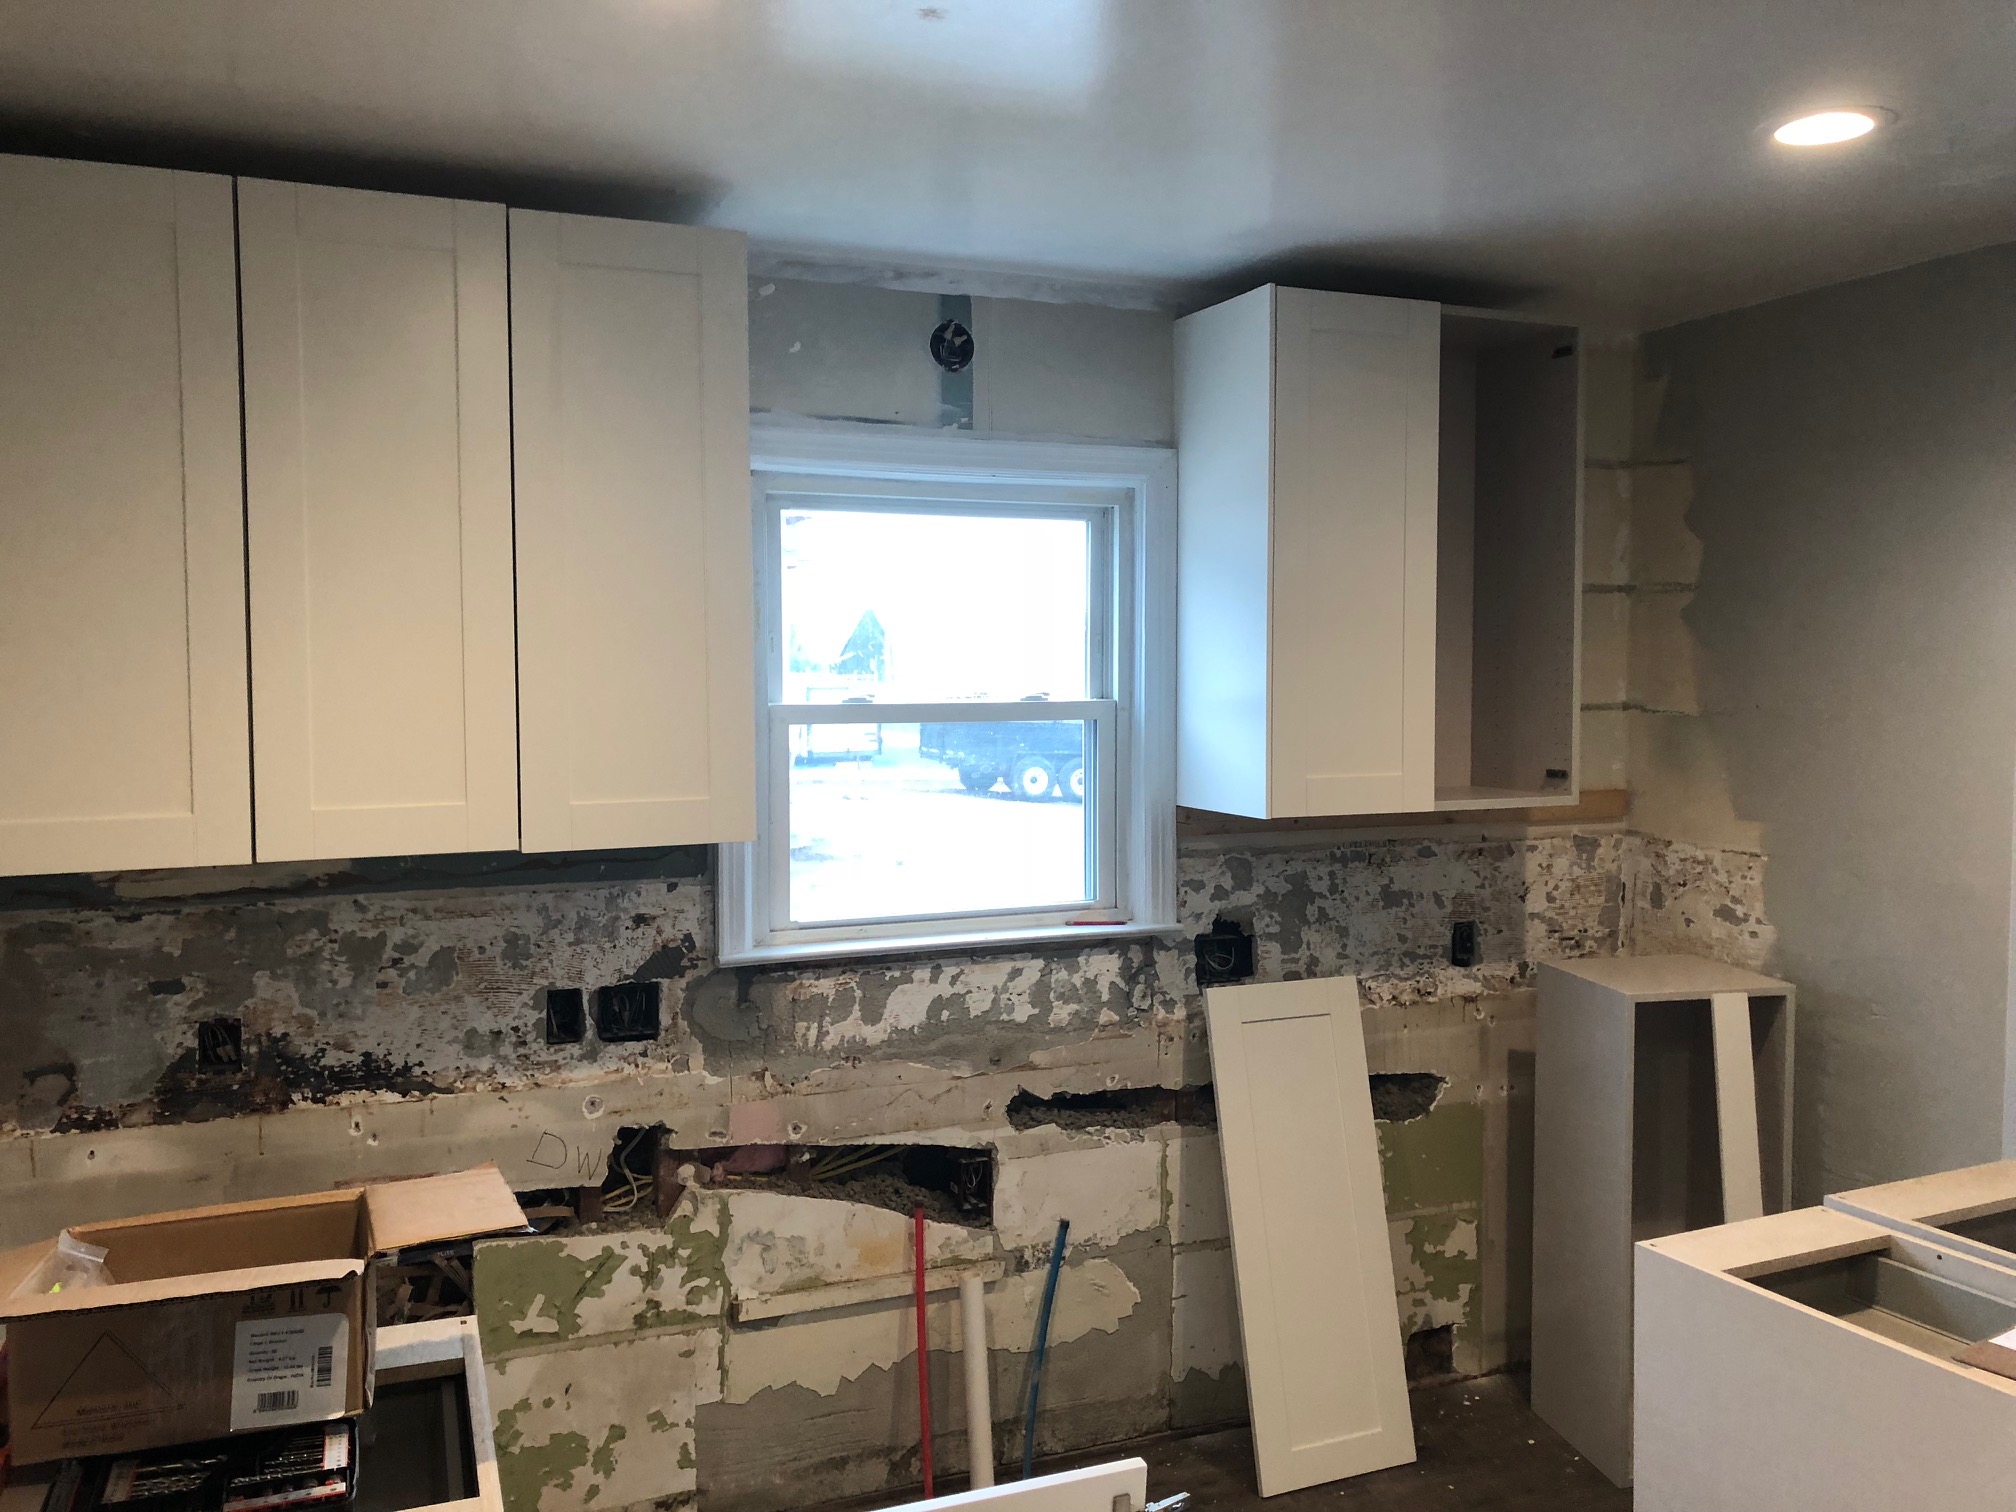
This is how horrid the walls look that we are covering up with all of our beautiful cabinets. It almost looks like some weird form of art with all the different colors and crumbled left over plaster from demo. LOL!
Obviously before we could install cabinets, we had to have the flooring installed. So below you are getting a sneak peak at what the flooring looks like! It is flooring by Mohawk in Graystone oak. I love how it is going to look with our white kitchen cabinets!
Finally…HANGING the Kitchen Cabinets!
Time and time again on the DIY channel, we see people spending hours to hang ONE cabinet. Some cabinets never make it off the ground, some fall back to the ground, and on rare occasion one of the flippers gets hurt holding them up. I have two words: ledger board.
Helpful tools when hanging cabinets:
- Ledger boards
- Tape Measure
- Clamps
- Level
- Power screw driver
- Screws (not nails)
- 2 or 3 step ladder (depending how tall you are ;))
- Awesome dad
- 6’8 tall brother
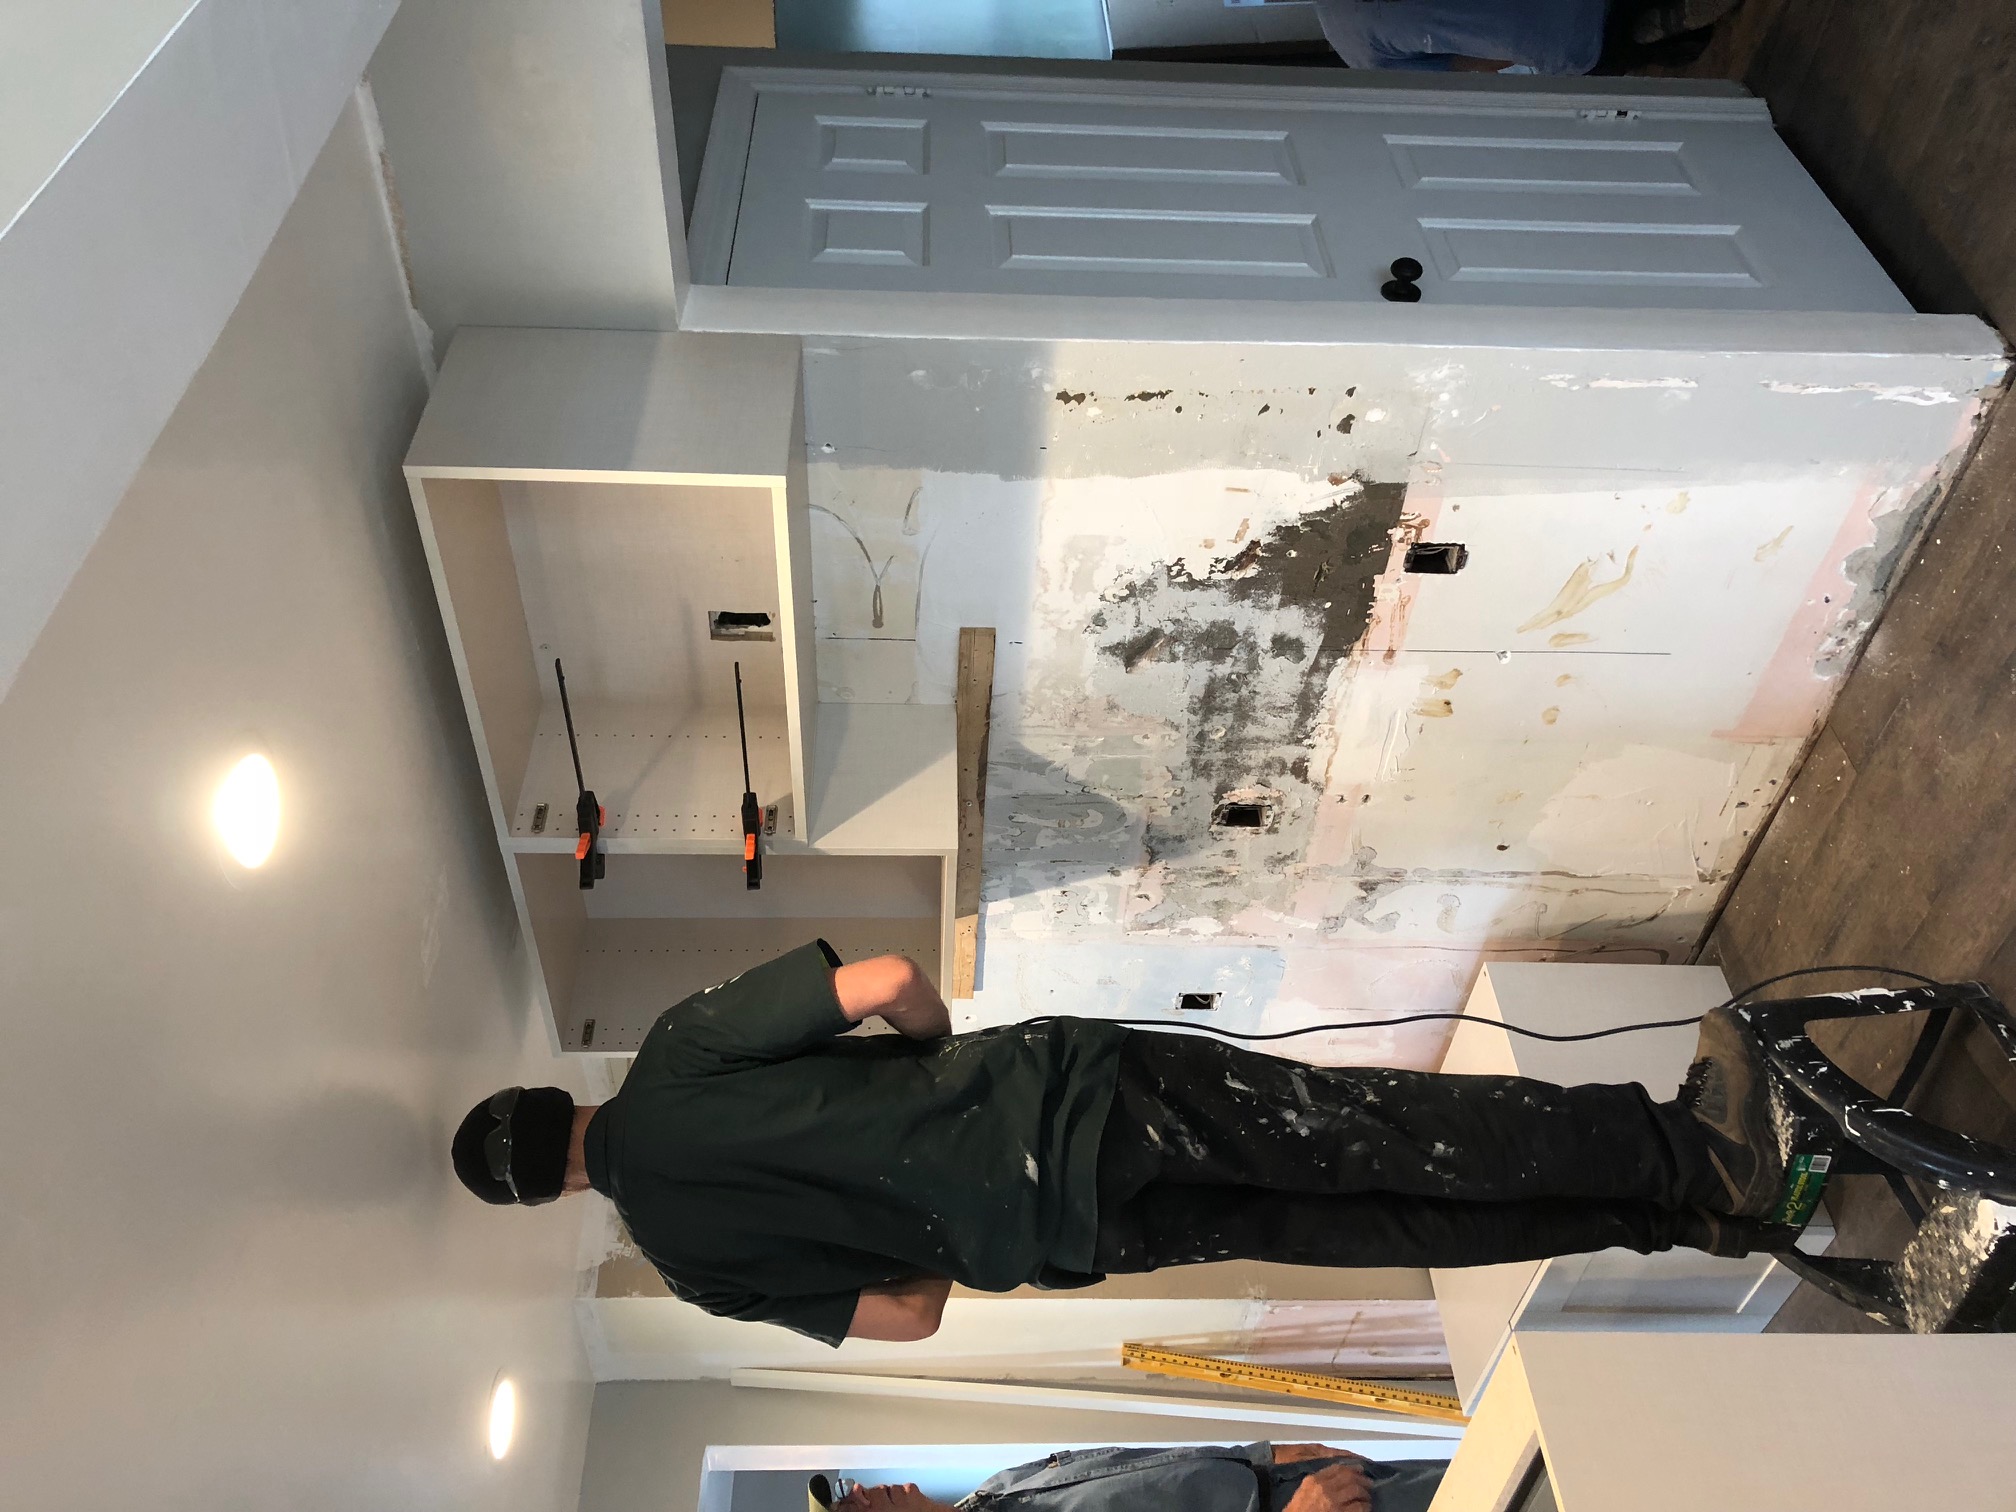
Tip #1: Uppers First!
We were smart enough to hang the upper cabinets first! It is MUCH easier to hold uppers if you don’t have to reach over/stand in front of the lowers. Measure your cabinet height from the ceiling and determine where you need to screw in your ledger board. Be SURE your ledger board is LEVEL. Your cabinet will rest right on the board as you screw them in.
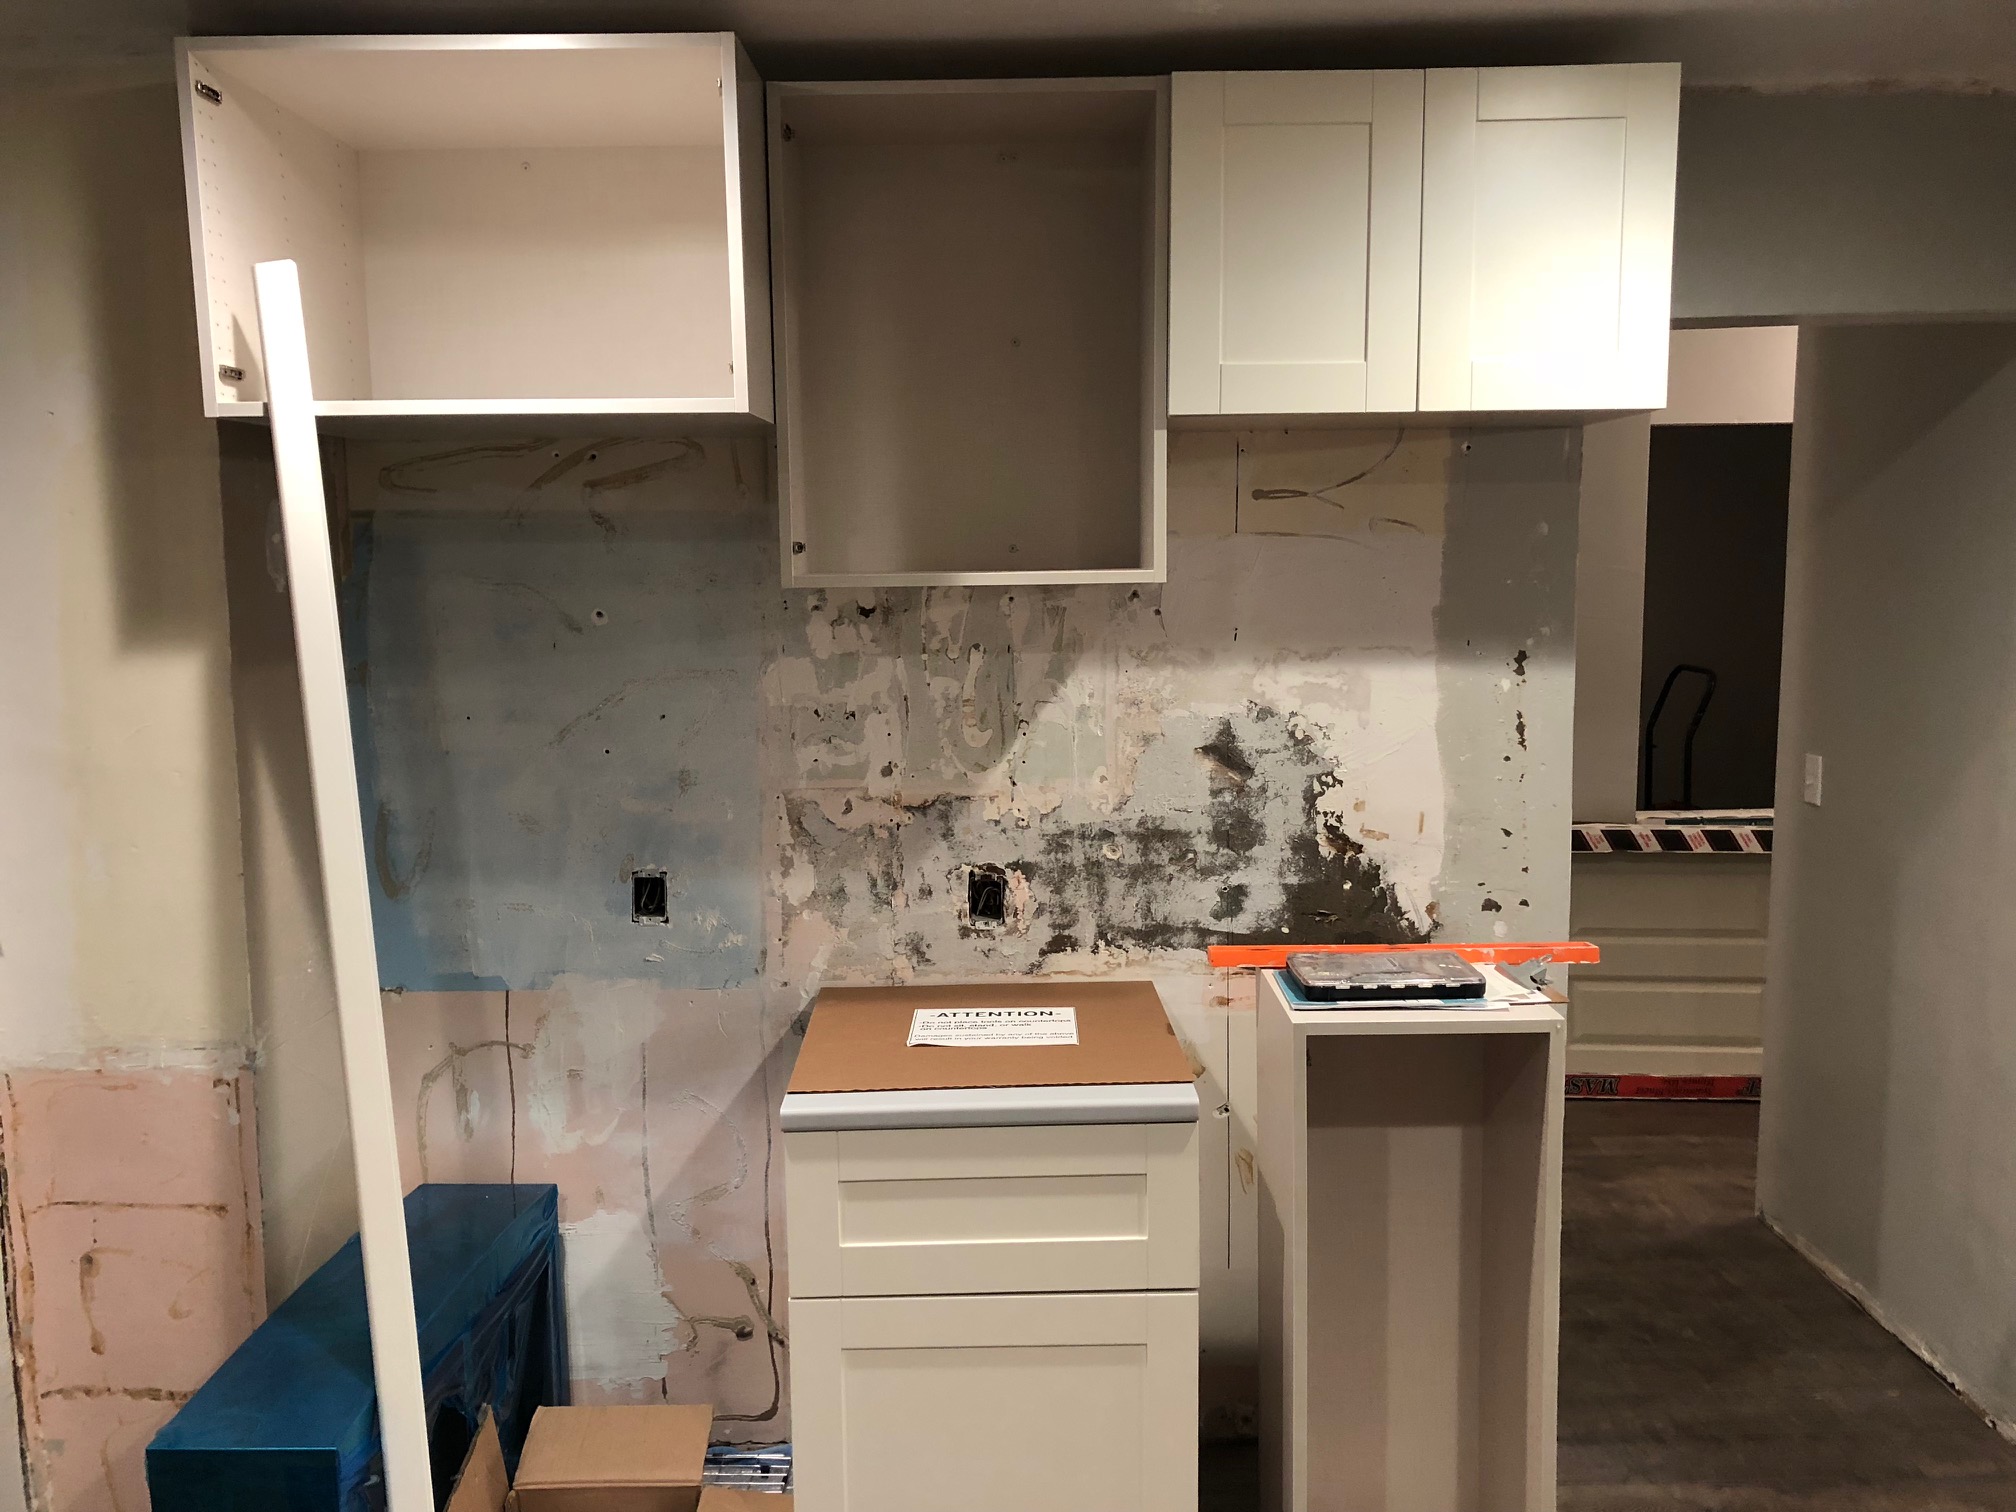
Tip #2: Double Check Widths
Be sure that your lay out is correct and that your cabinets will fit snug. In re-measuring our space, I can actually fit an 18 inch wide cabinet instead of the 15 inch one that I have. UGH. Will be returning one and reordering the wider one so that we do not have a huge gap between the edge of the cabinet and the wall. This means we will not get all of them up and done until the wider one comes in. BOO! I hate it when a project on my to do list is almost done, but cannot be crossed off because of one minor thing.
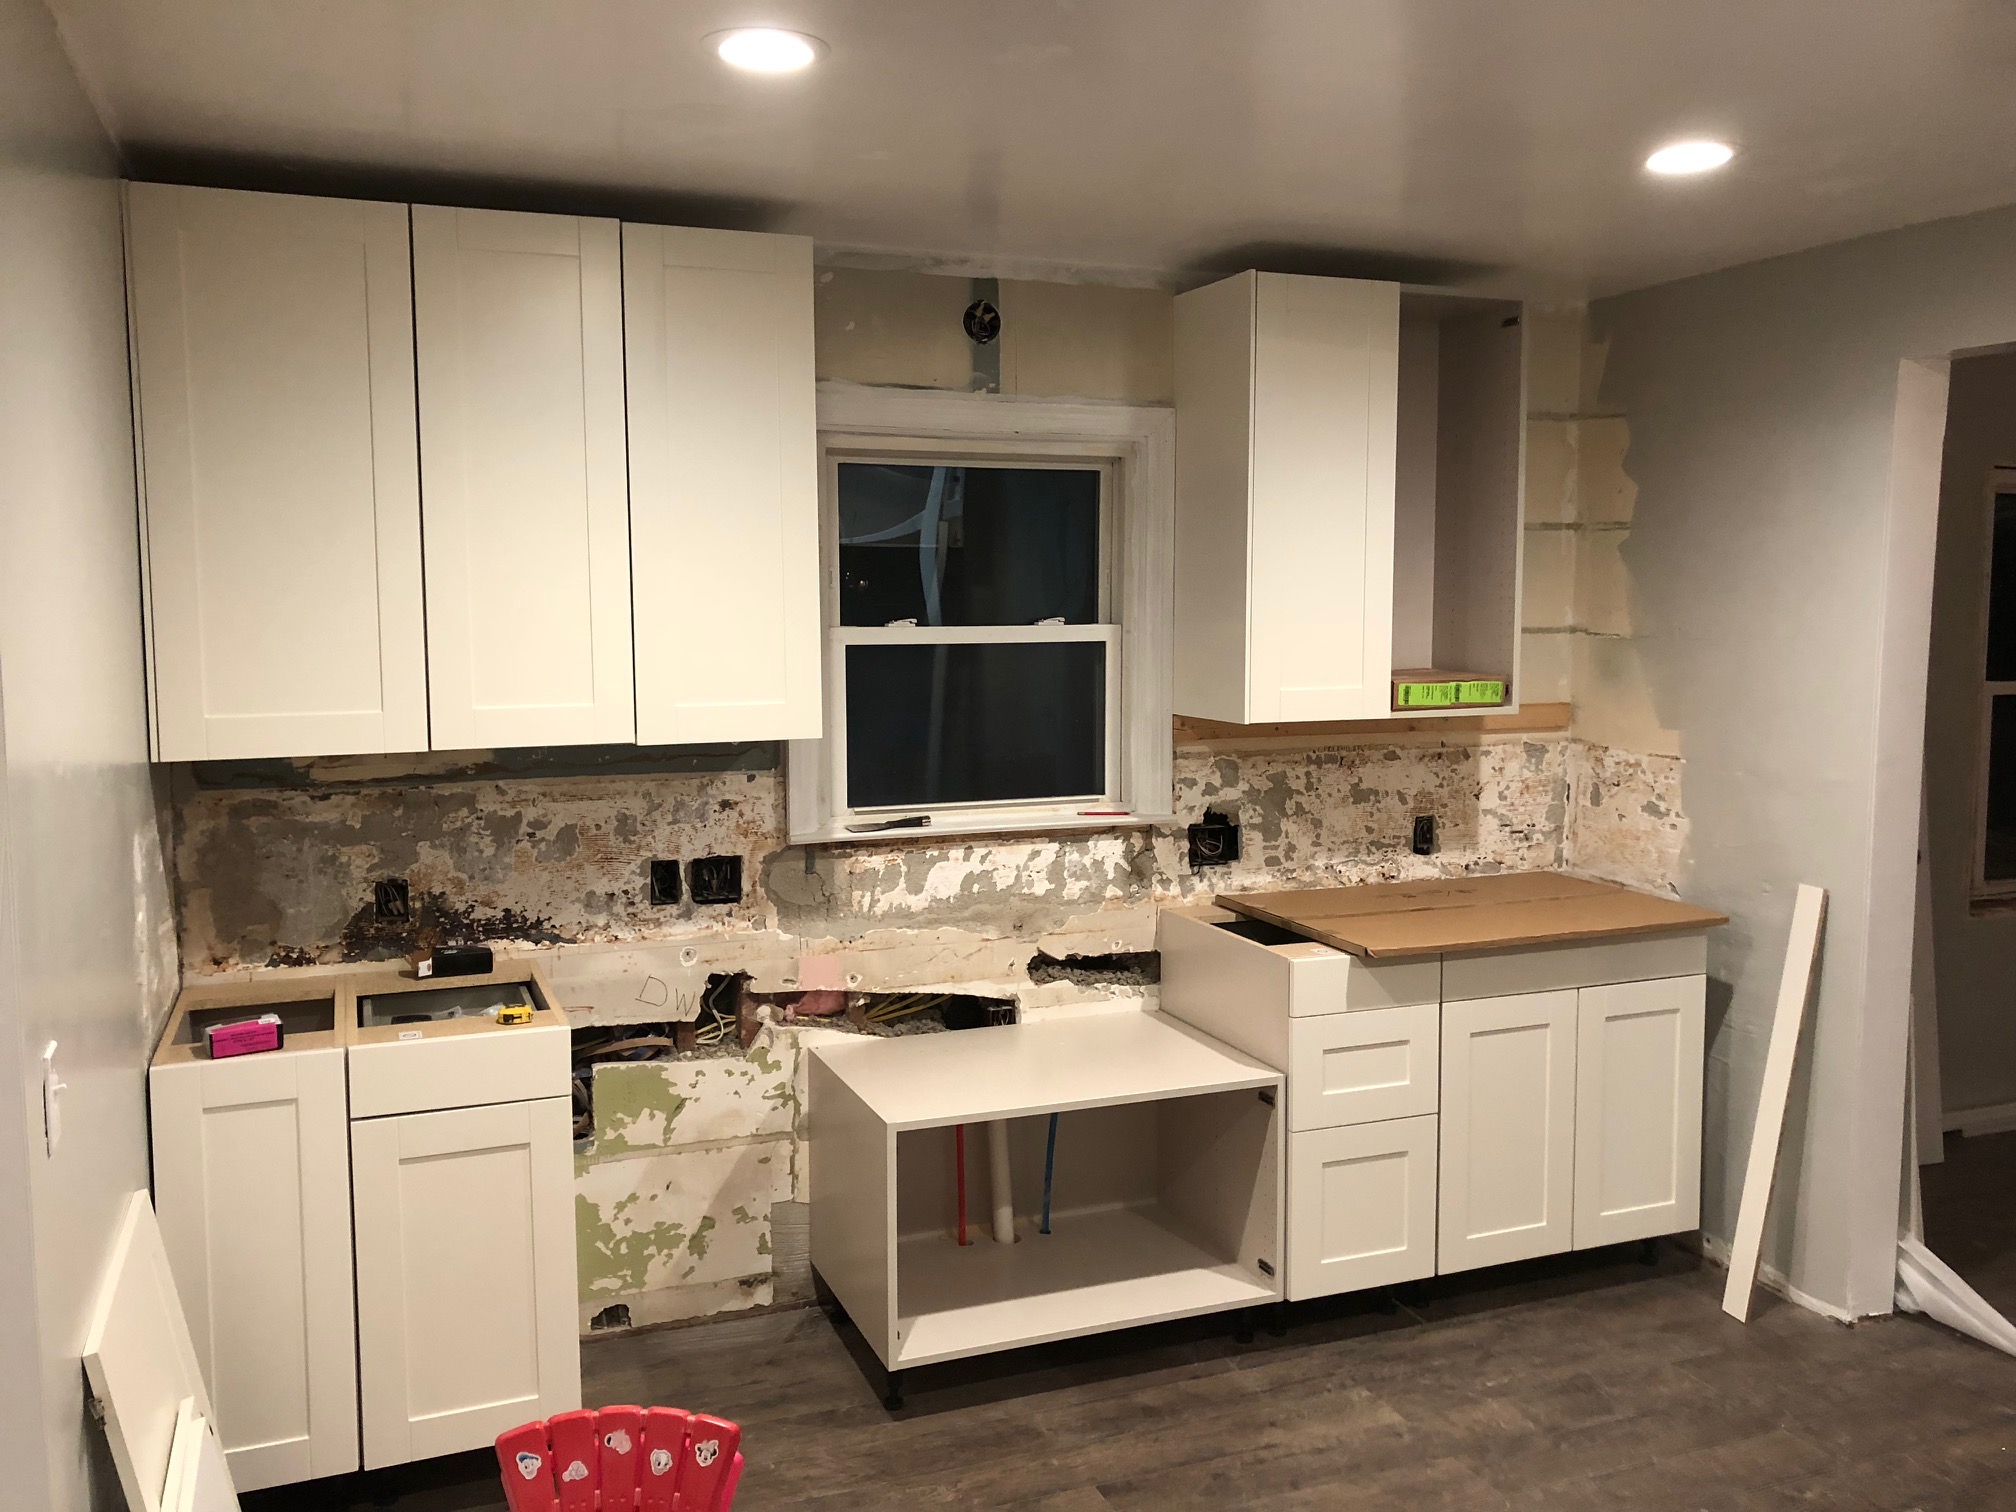
Tip #3: Feet Adjustment
Once you have the upper cabinets installed, move onto the lowers. Even if you are new construction, it is likely that your floors will not be perfectly level. We do not do new construction so the floors in our old houses are NEVER level. Simply adjust your feet. Your cabinet must be level from back to front and side to side. This will optimize cabinet function and better support the countertop (future post!).
Minus the cabinet on the bottom right (because that is the one being returned), we do not have a lot of cabinets on the other wall. The fridge will be on the left with the stove and microwave on the right. All of the drawers and cupboards are soft close….this kitchen is going to be nice than my own!! I cannot wait to add the hardware!! Keep following along for more kitchen progress!!