Bedroom Imagination
Is remodeling a bedroom difficult? When walking through this project, the bedrooms definitely took the most imagination. For the most part, we had a path to walk through and could not see much the entire upstairs. One room was so full of Christmas decorations, we lovingly coined it ‘The Christmas Room’.
So Step 1….. finding the rooms!!!!!
We filled 2 dumpsters, donated probably 10 truck loads (a Honda Pilot), and took home 12-15 totes worth of stuff to sell. Not to mention a big truck came for a load as well. Due to the house being FULL, it added about a month onto our timeline.
Before Pictures:
Front bedroom (the ‘best’ of 3)
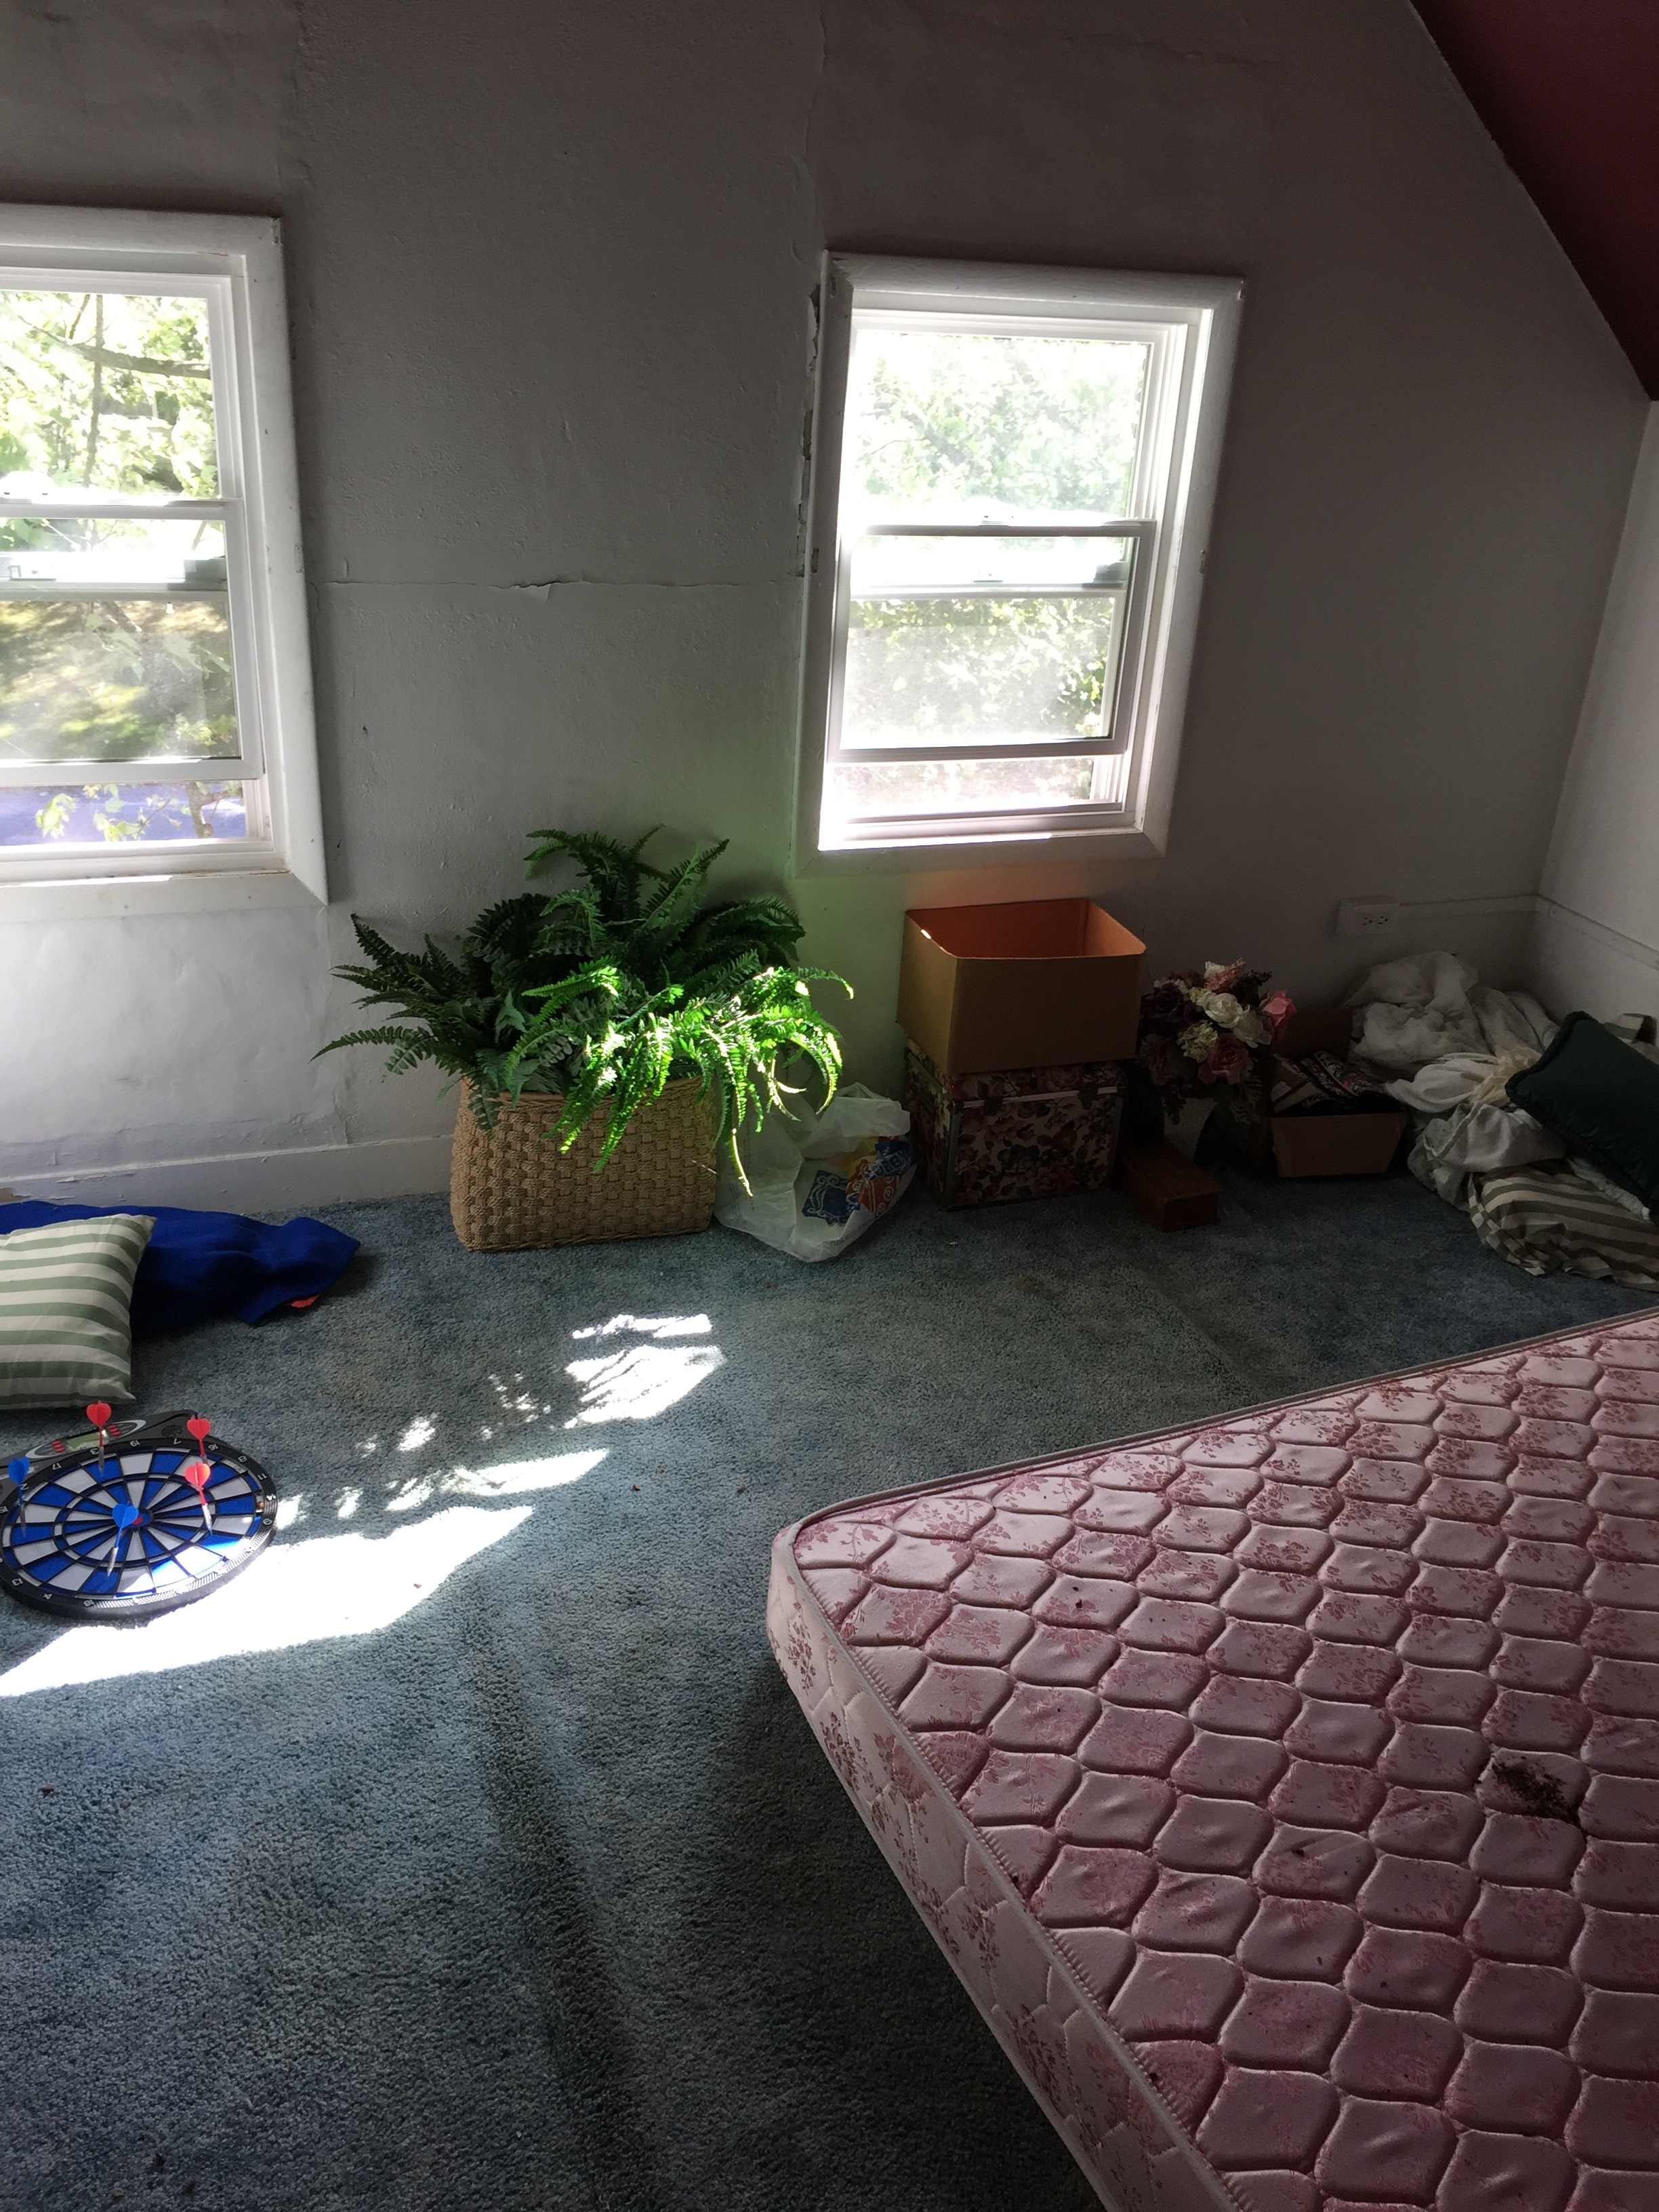
This bedroom definitely needed some TLC. The carpet was filthy and contained some feces of some sort. The mattress was HEAVY…who knows what was living in there! The walls needed some repair and the whole room obviously was in need of paint.
Middle Bedroom:
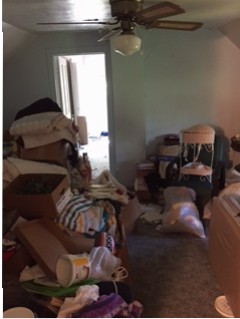
Main Bedroom piled with stuff, hole in the ceiling by the covered chimney, major wall cracks, peeling paint, huge old ceiling fan, disgusting carpet, and missing trim.
3rd Bedroom a.k.a. ‘The Christmas Room’
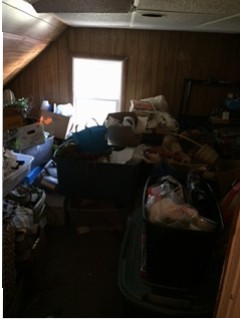
This room was PACKED! So many Christmas decorations and trees. The ceiling was broken, walls broken, disgusting carpet (under all the stuff), and broken wall paneling. You couldn’t even walk into the room.
It literally took us almost a month of sifting through the stuff and sorting it into garbage, donation, or sell piles and moving it.
So how did it turn out and what did we do?
Bedroom #1:
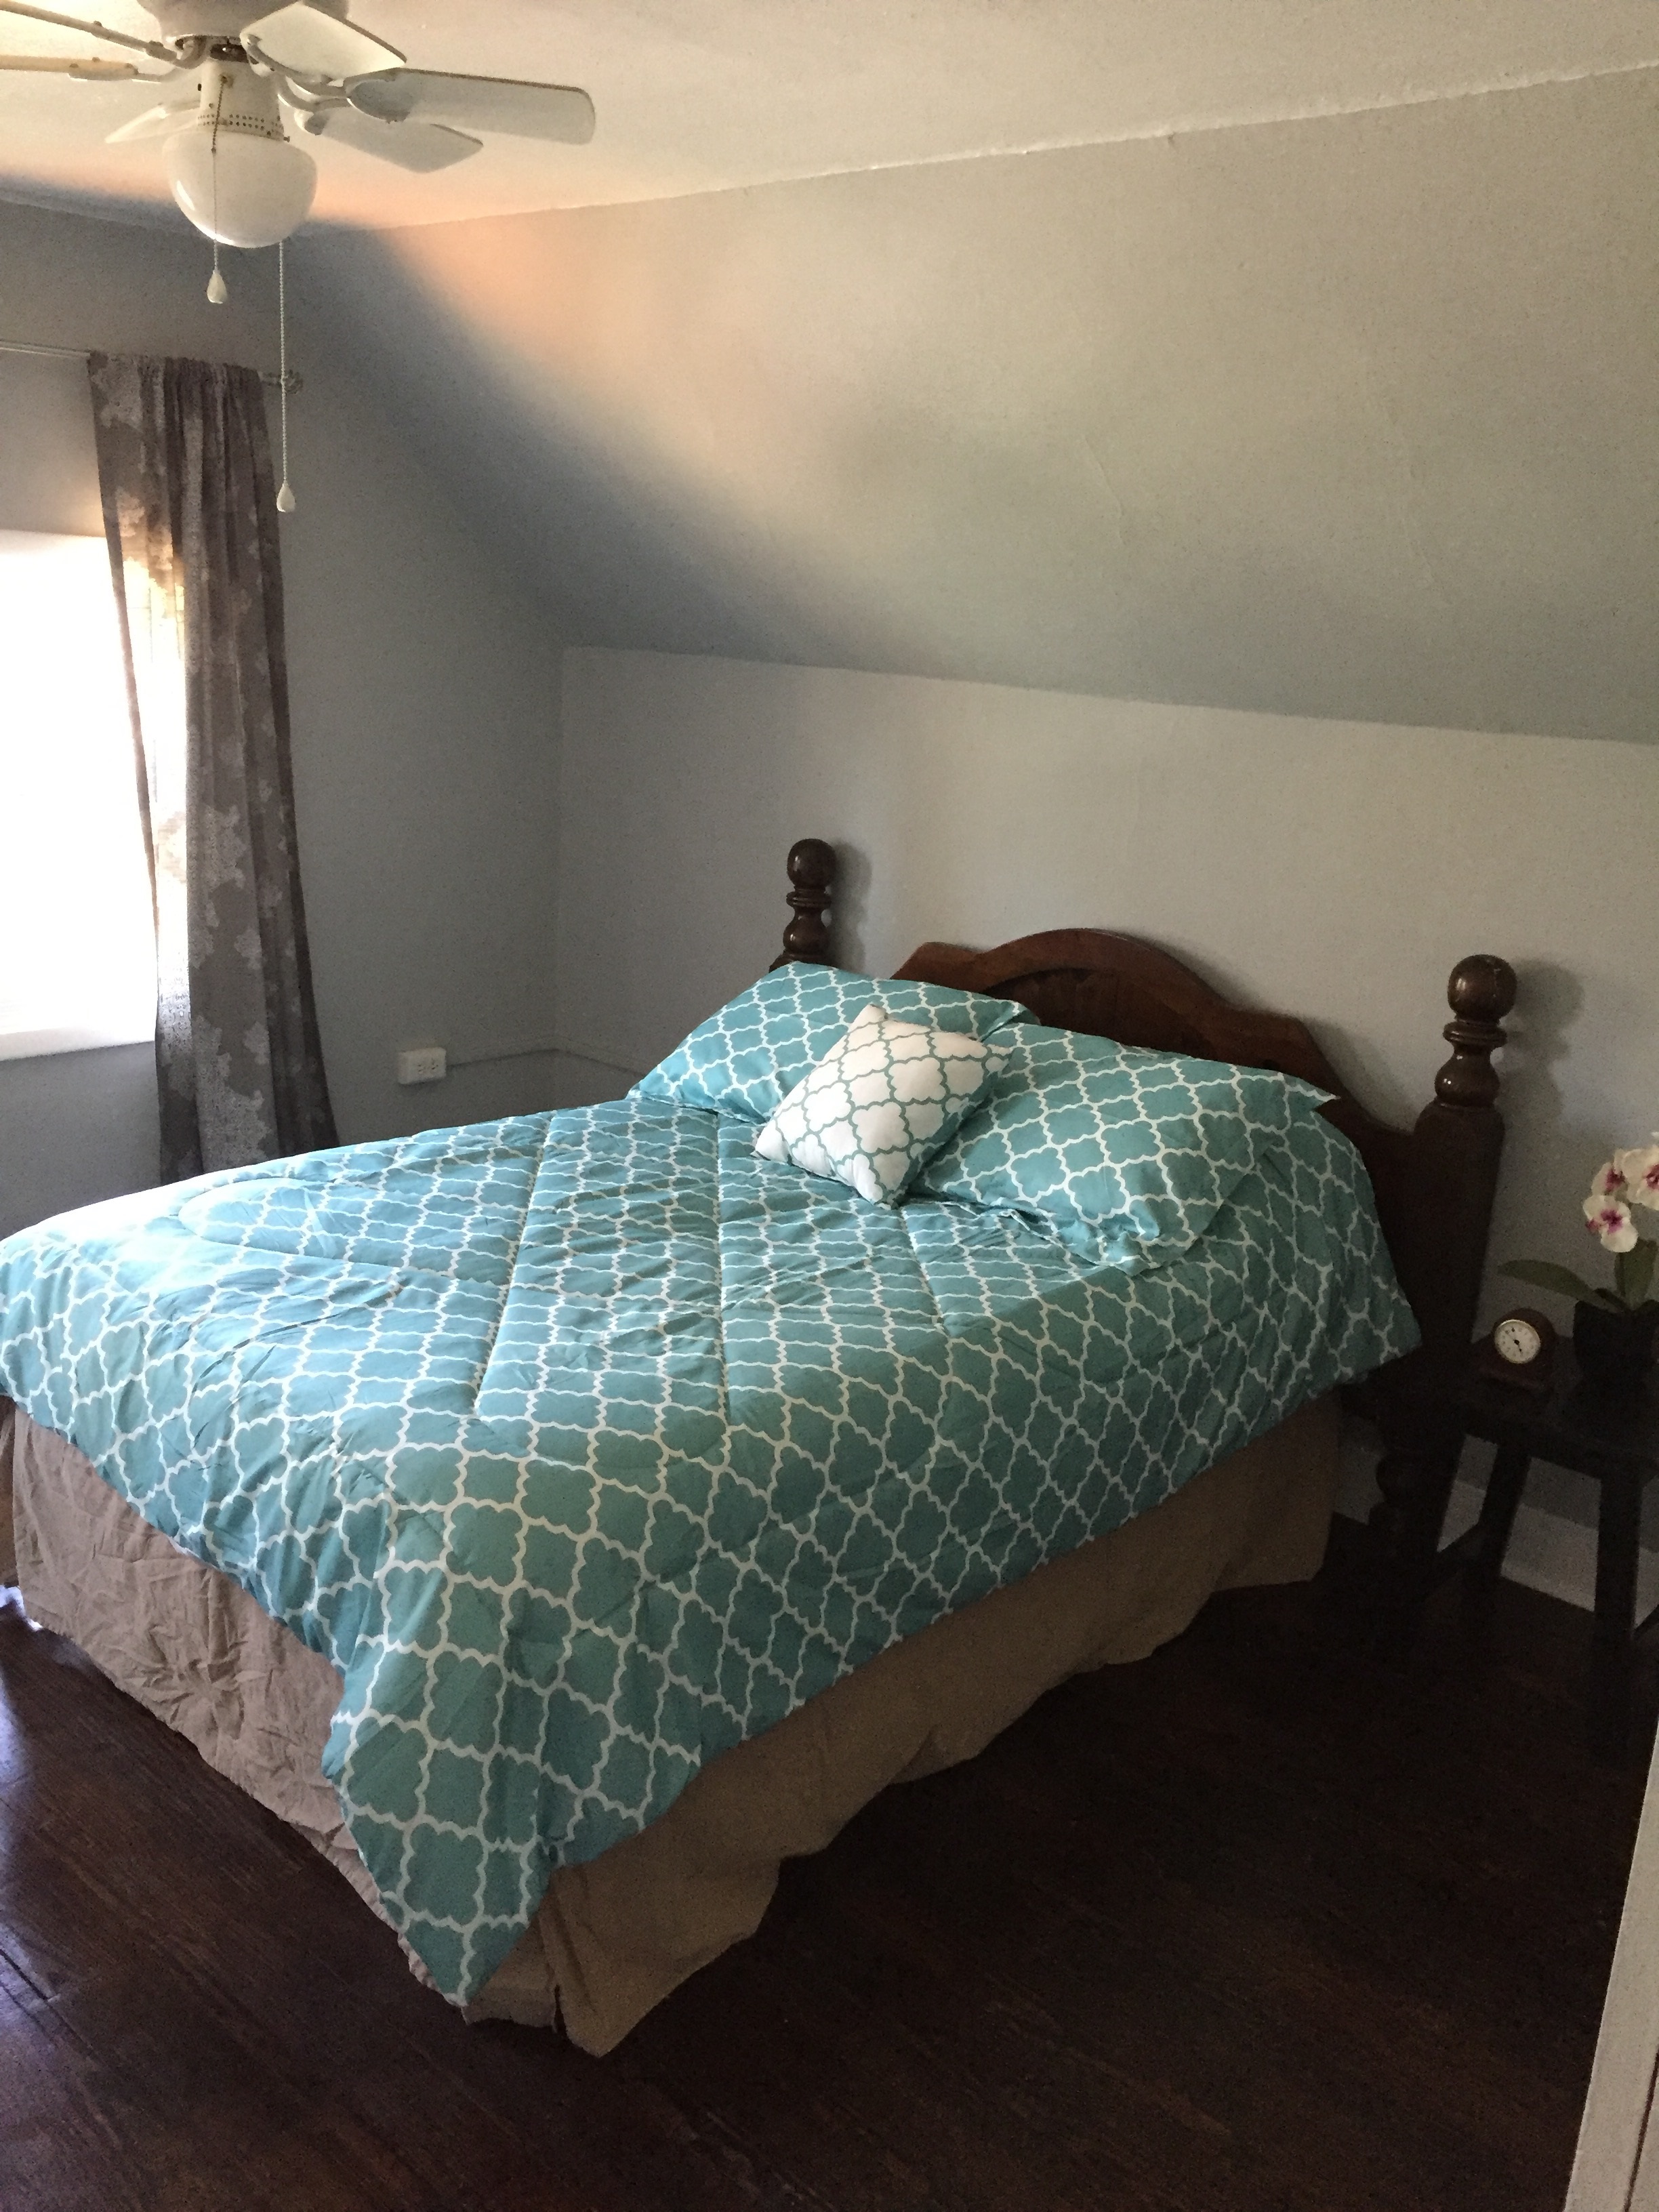
How did we do it?
- Removed all the stuff
- Removed the carpet
- Patched and sanded walls
- Painted the ceiling, new trim and original doors
- Painted the walls
- Sanded, stain and sealed the original floors
- Hinges exposed (will show detail in future post)
- Hung simple curtains
- Staging to give it that cozy feel
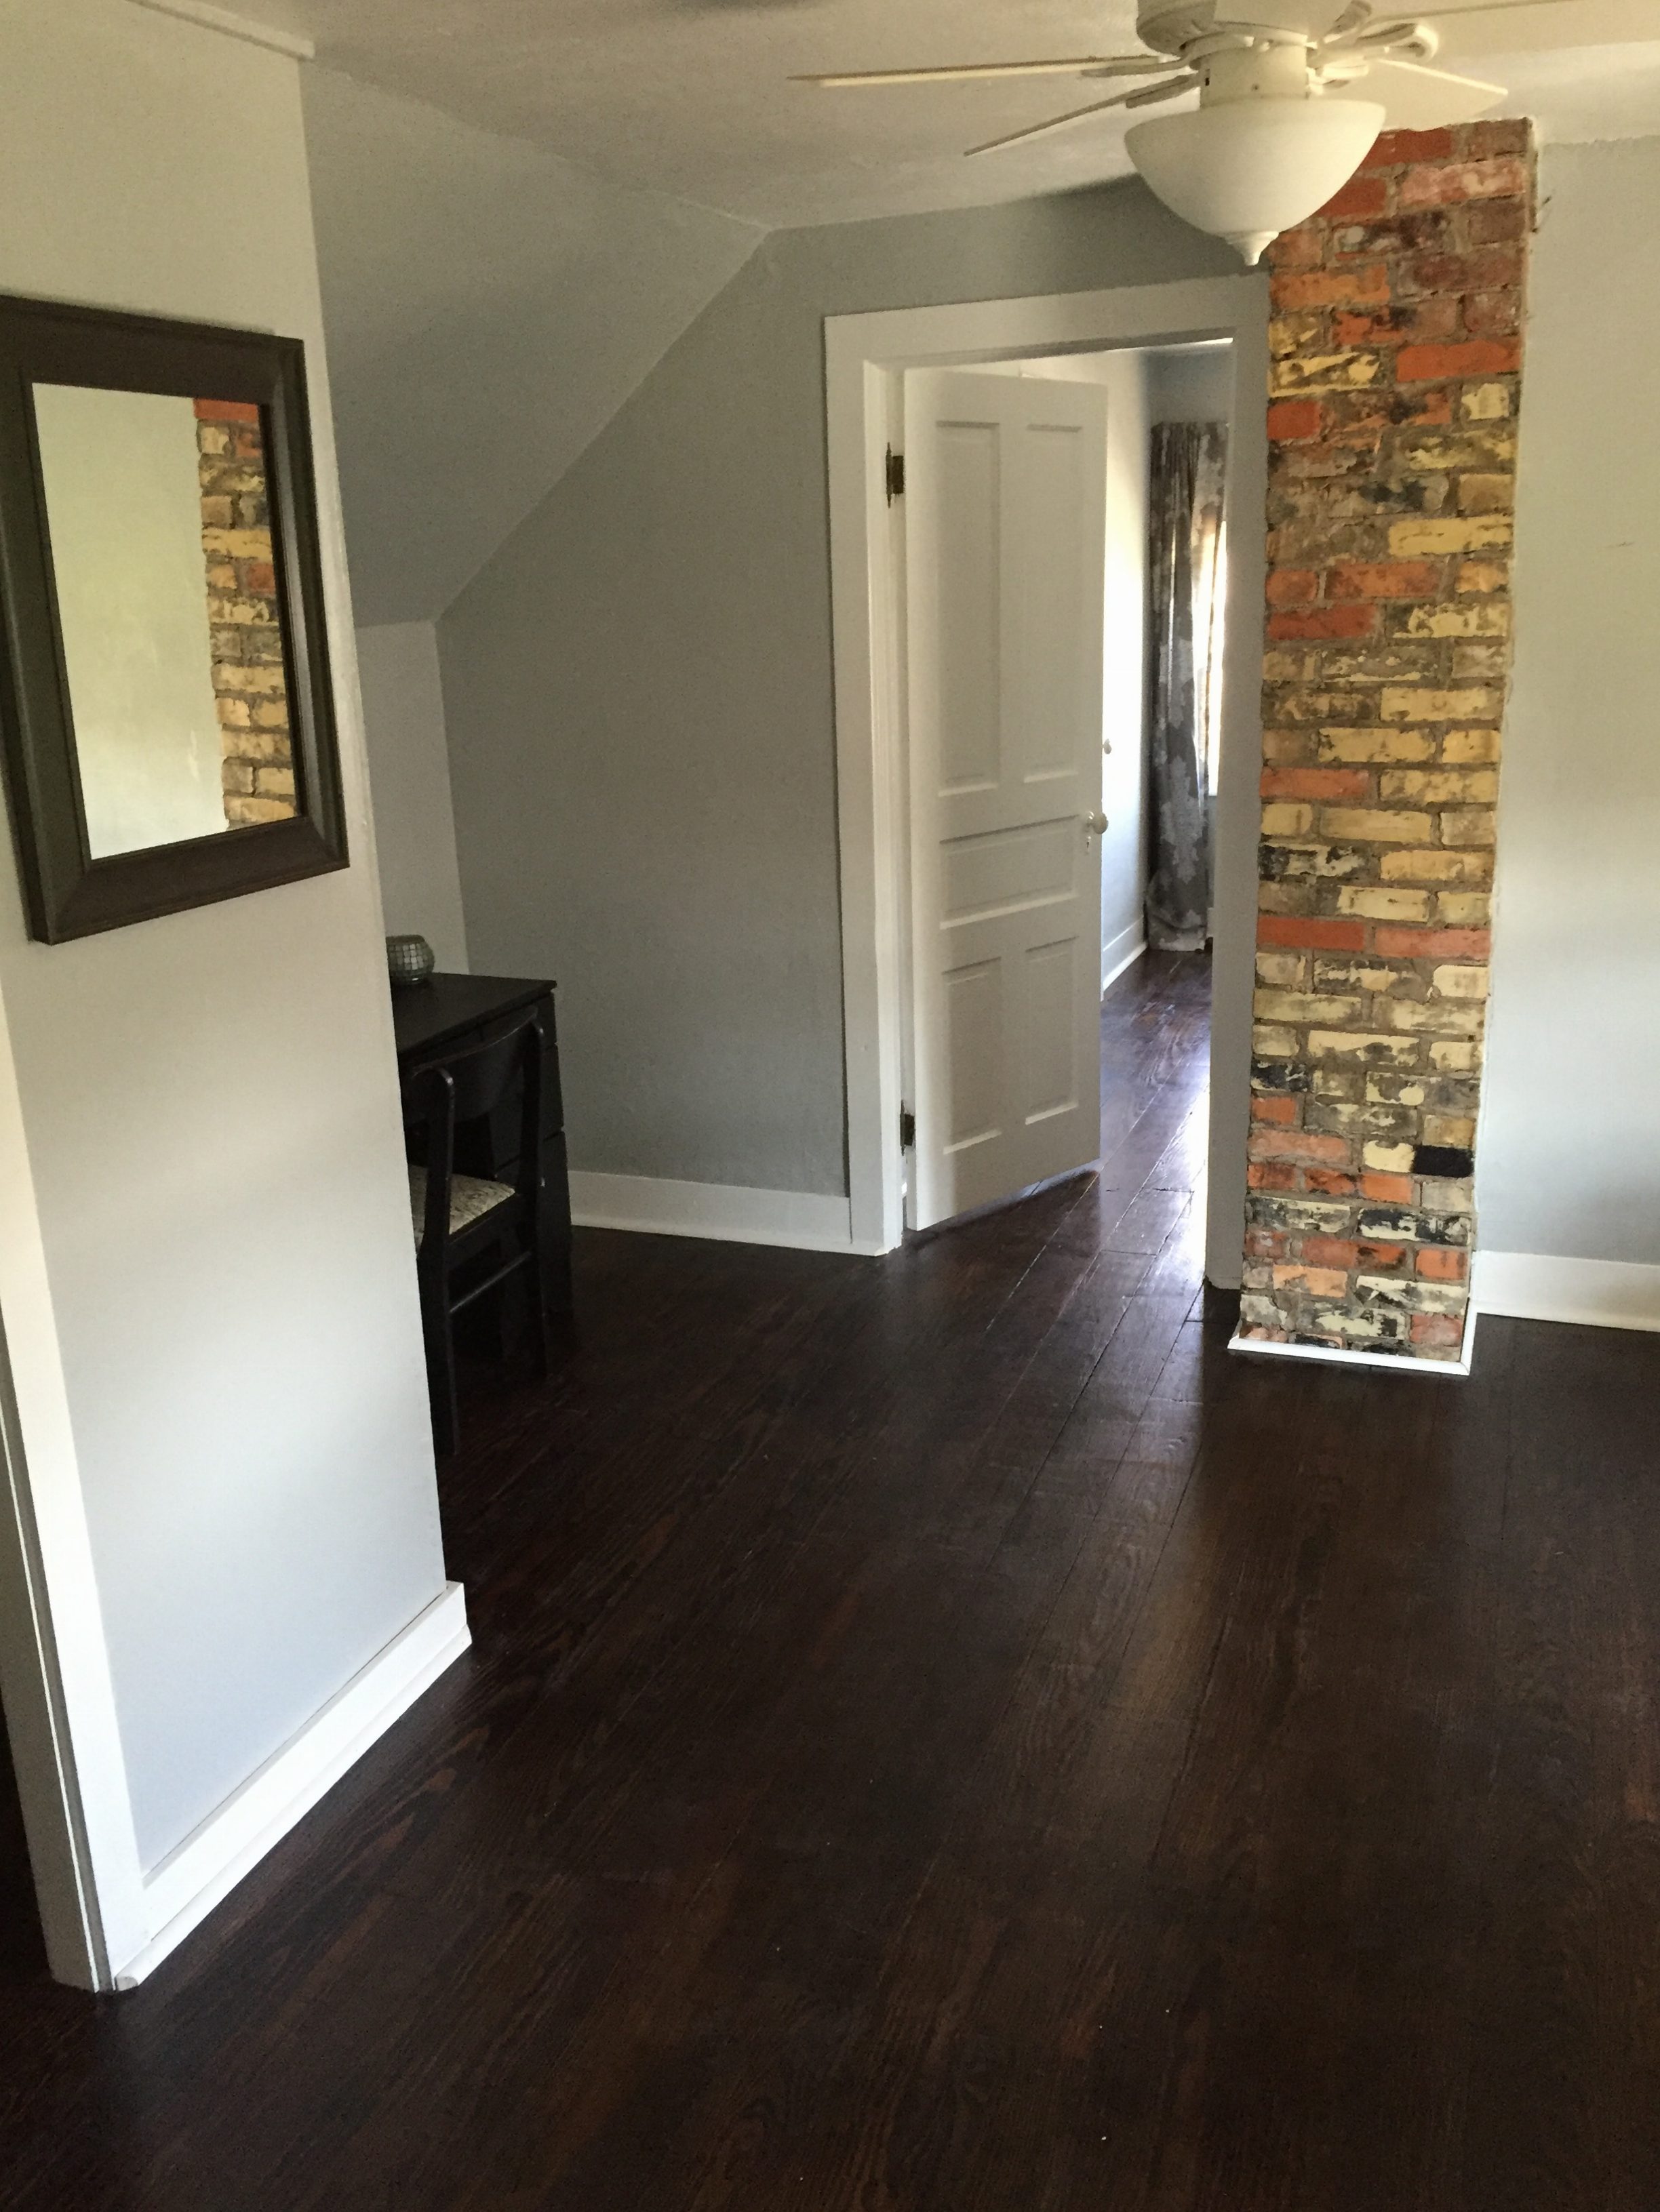
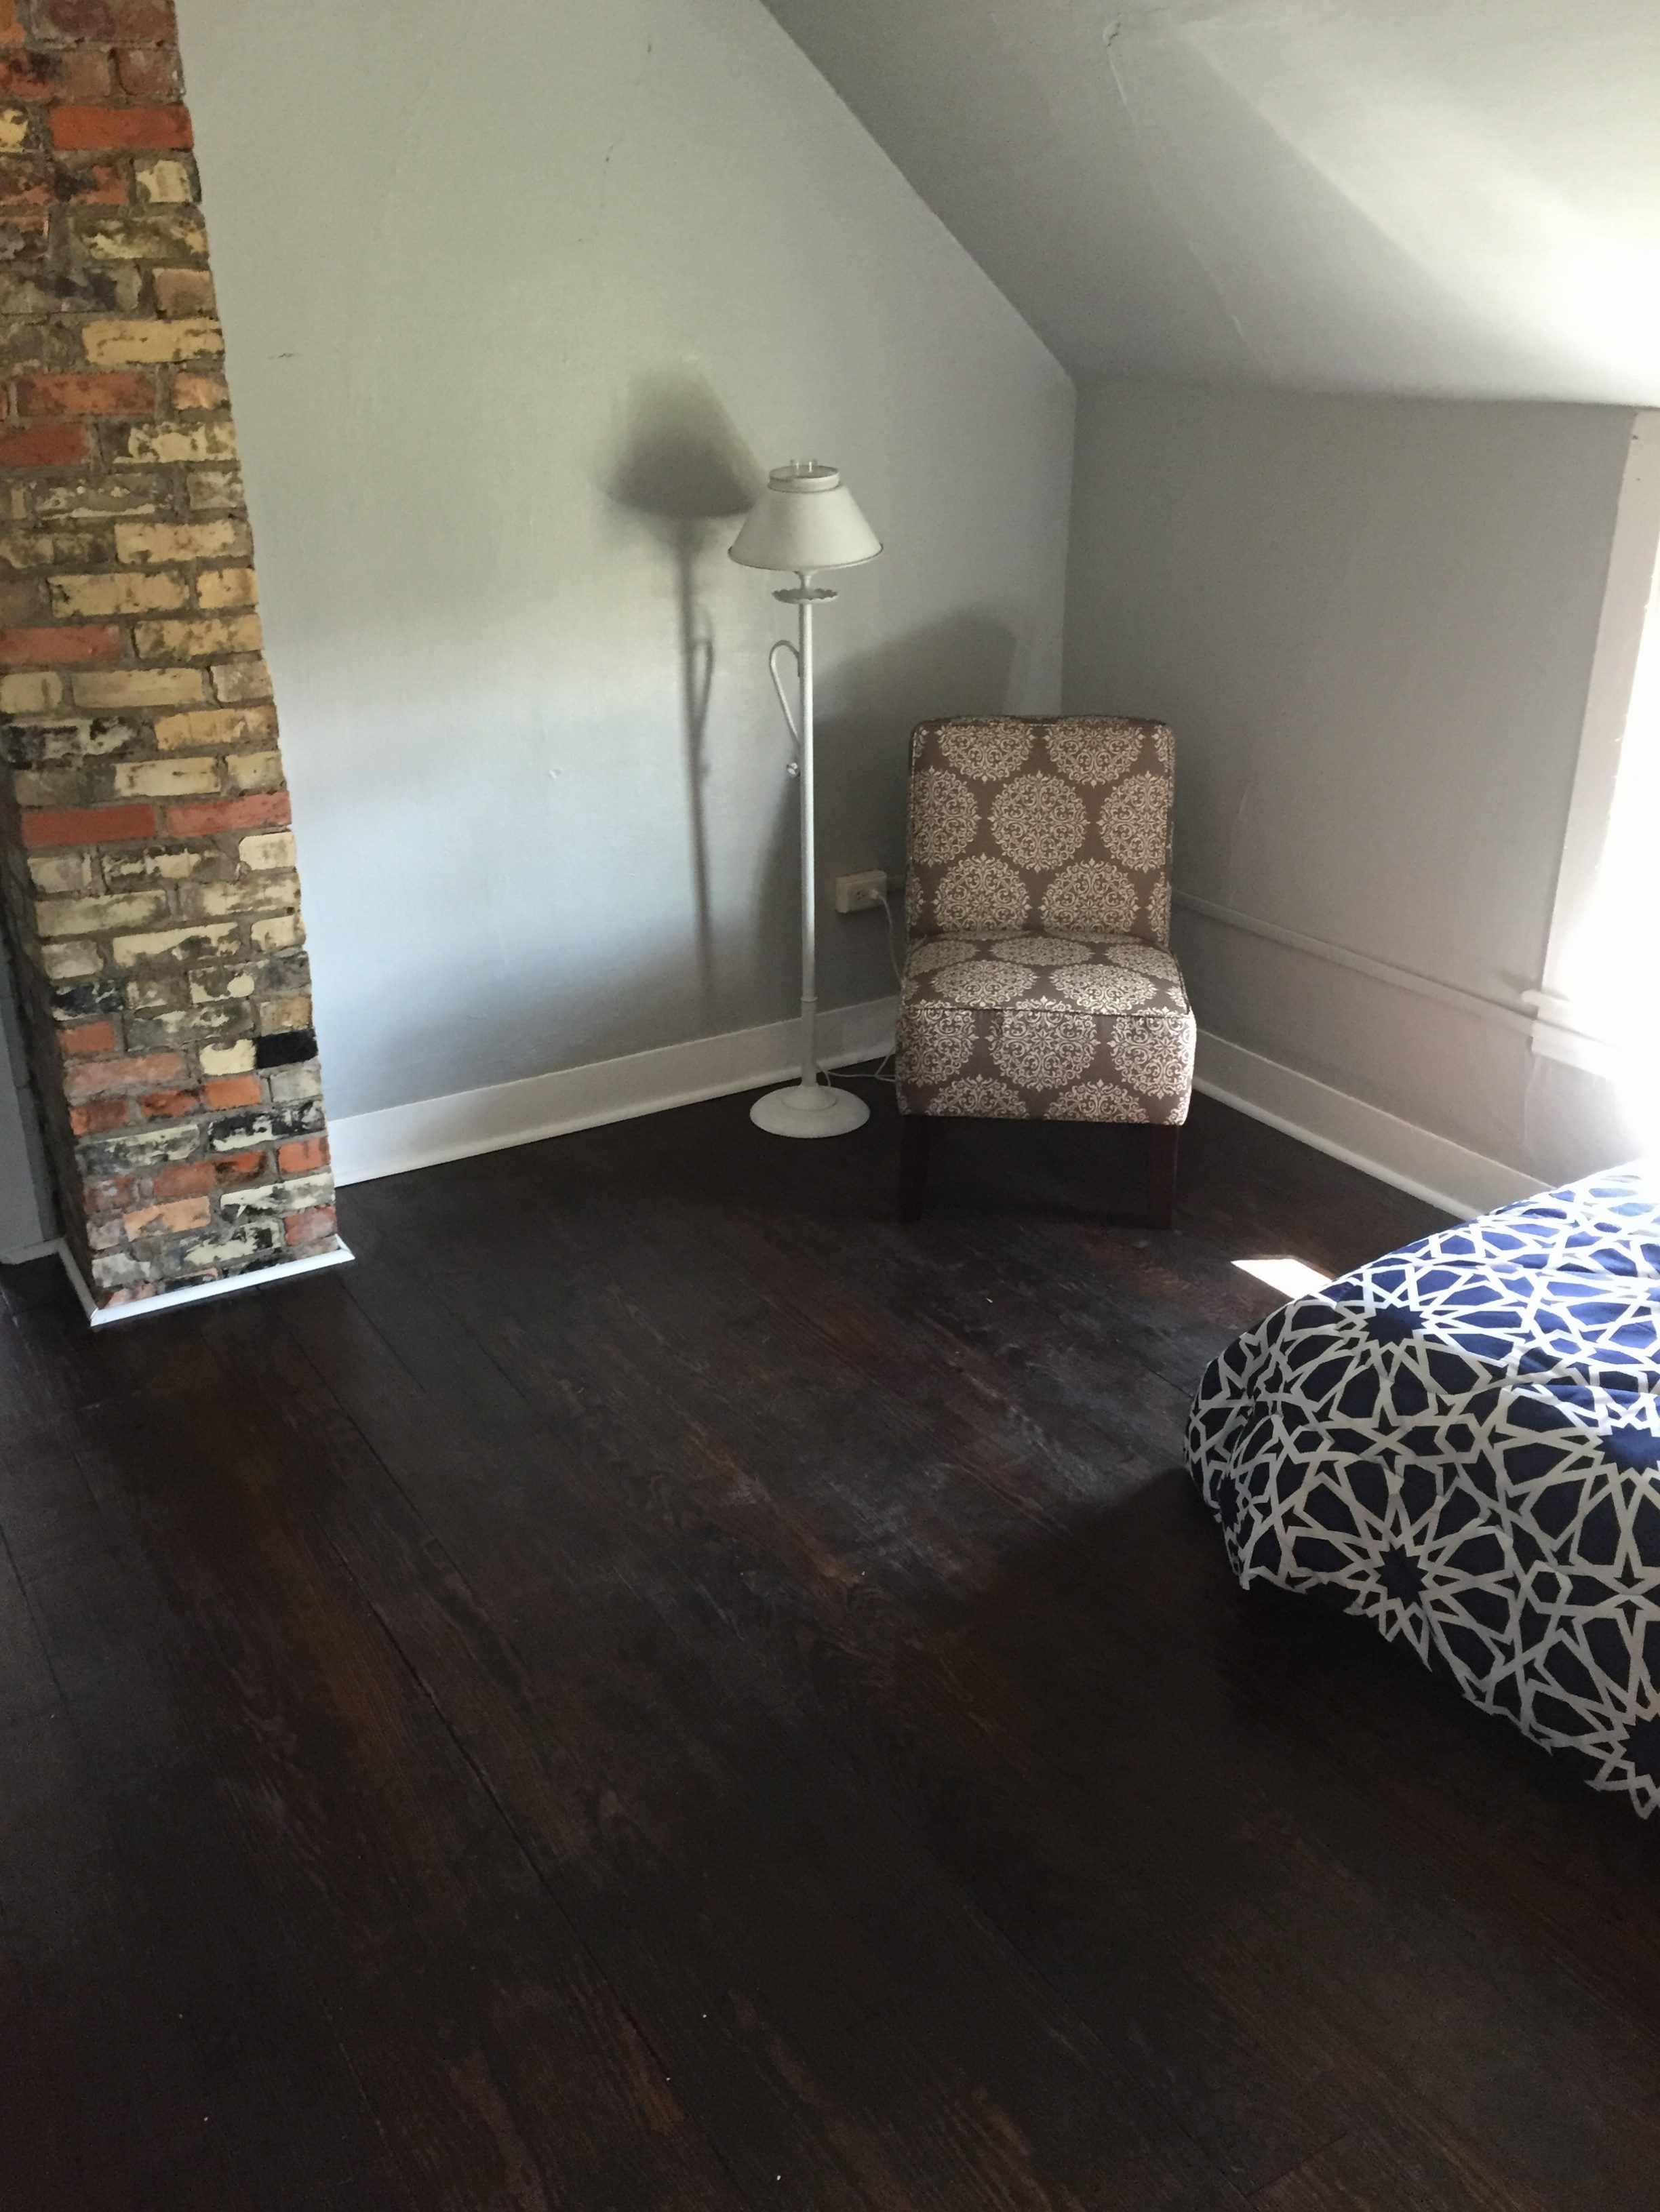
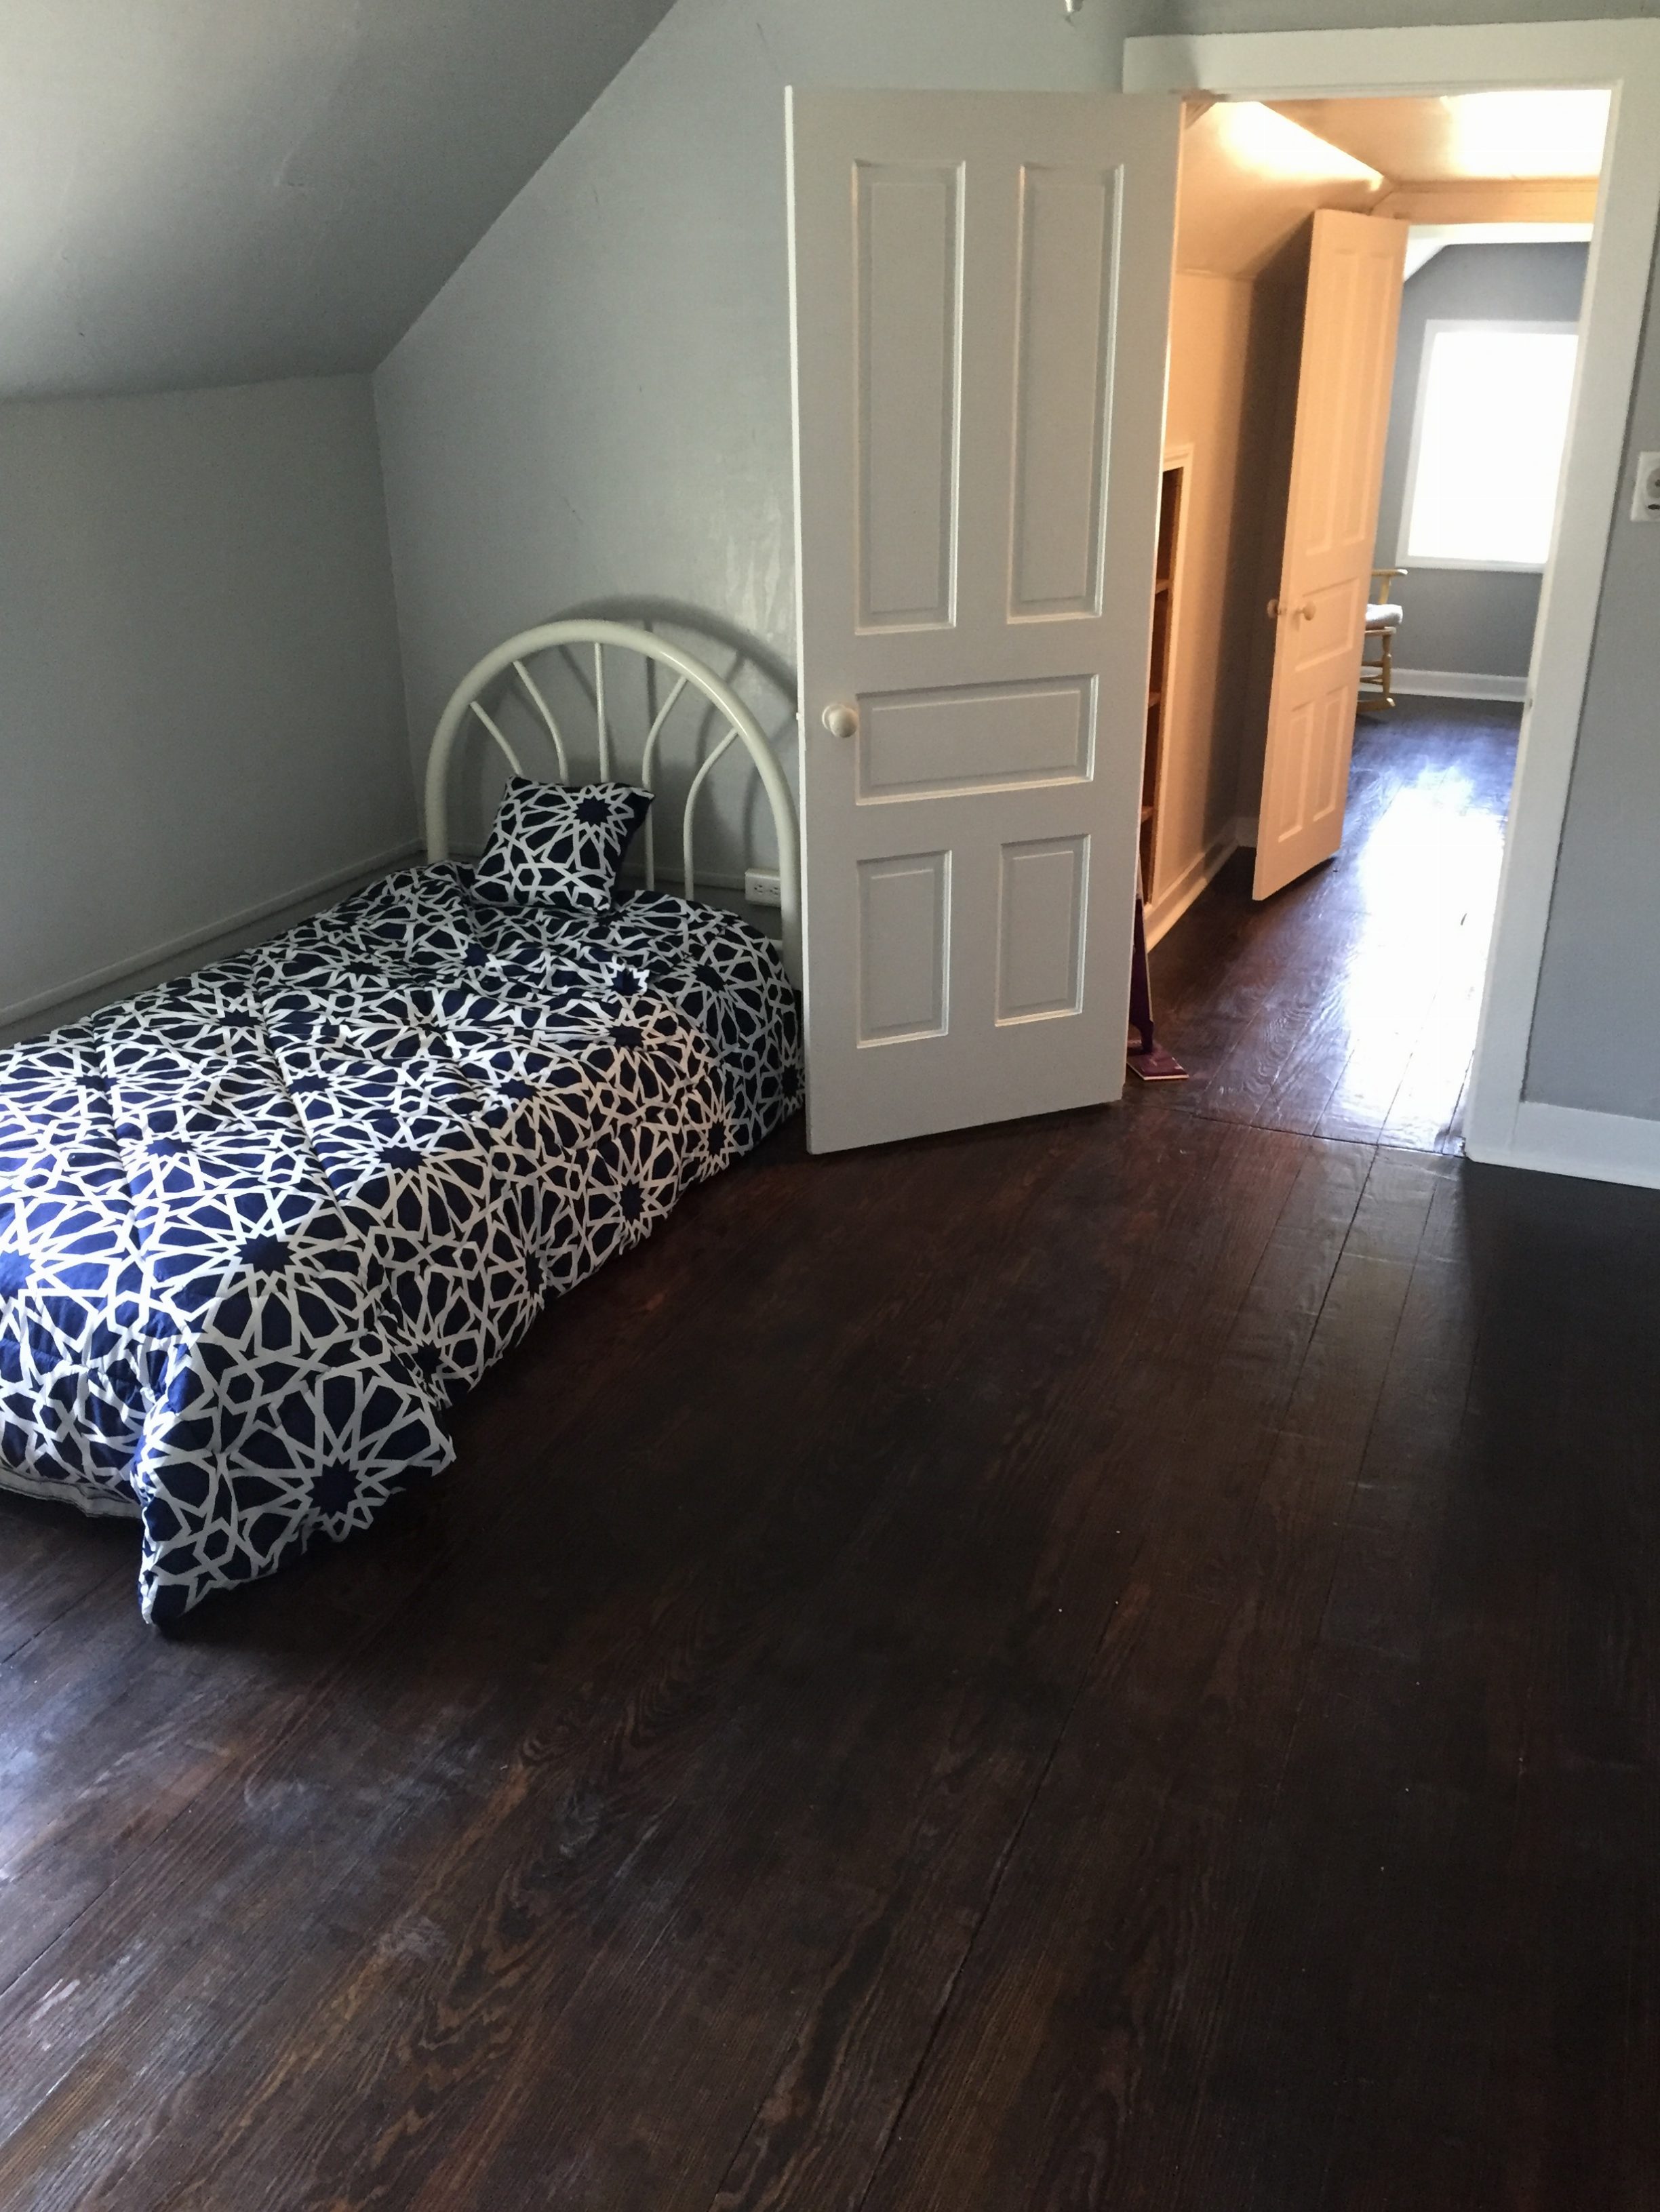
Bedroom #2
How did we do it?
- Removed all the stuff
- Wall and ceiling repair
- Exposed and sealed the chimney
- Removed the carpet
- Finished the trim that was missing
- Ceiling painted
- Walls painted
- Original floors sanded, stained, and sealed
- Doors painted
- Hinges exposed (will show detail in future post)
- Staging to make it cozy
Bedroom #3 ‘The Christmas Room’

How did we do it?
- Spent A LOT of time clearing this room out
- Tore down the broken ceiling
- Tore of the wall paneling to the studs
- Removed the carpet (yes there was carpet under the stuff)
- Had the electrical placed through the studs and behind the wall
- All new drywall for ceiling and walls
- New recessed lighting
- New trim
- Paint for ceiling and walls
- Sanded, stained, and sealed the original floors
- Hinges exposed (will show detail in future post)
- Staged as a nursery since it was a smaller room
All of these bedrooms were in the upstairs of this 1869 farmhouse and turned out gorgeous! So much original character and detail (which we will show further in a later post). It did not take a lot of money to transform these bedrooms, but a lot of labor!
Do you like how they turned out?